Last updated November 17, 2026








Free written scope consultation - allowances, timeline, and change-order rules on paper before a single trade is scheduled
Home Additions & ADU Maintenance Schedule: What to Do and When
The flashing joint where a new addition meets an existing roofline is the single most likely place your home will develop a water intrusion problem in years two through five, and it takes about five minutes a year to inspect. That seam between old construction and new is a different animal from either structure on its own. It moves at its own rate, sheds water in its own way, and telegraphs trouble long before you see a stain on the ceiling. Most Mesquite homeowners treat a finished addition like a finished product. It isn’t. It’s a living joint that needs watching, especially in the first three years while materials settle and the two halves of your house learn to move together. This guide lays out exactly what to check, when to check it, and what warning signs mean it’s time to call someone.
Quick Answer
Your addition or ADU needs active monitoring for the first three years, with the heaviest attention in year one: inspect the roof-to-wall flashing joint, foundation transition, and exterior caulk lines every season, watch HVAC performance for the first two summers, and schedule a professional walkthrough at the one-year, three-year, and five-year marks. After year five, the addition settles into a normal annual maintenance rhythm like the rest of your house. The seam work in that first three years is what protects you from the water damage and settlement problems that show up later.
Styles & brands we work with
- Kitchen remodeling
- Bathroom remodeling
- Home additions & ADU
- Roofing
- Windows & doors
- Driveway & pavers
- Fence
Table of Contents
- Why an Addition or ADU Needs a Different Maintenance Rhythm
- The Year 1 Month-by-Month Seam Inspection Checklist
- North Texas Seasonal Maintenance: How Mesquite Climate Hits Additions Differently
- HVAC Load Monitoring: Is Your Existing System Overtaxed?
- Caulk and Flashing: What Deterioration Looks Like Before It’s a Claim
- Year 3 and Year 5 Professional Inspection Checklists
- Foundation and Ground Movement Around New Construction
- When It’s Time to Bring in a Professional
Why an Addition or ADU Needs a Different Maintenance Rhythm
A standalone house is built as one system. Everything is designed to move together, drain together, and bear load together. An addition is two systems stitched into one. The original structure has already been through years of settling, thermal cycling, and soil movement. The new section is fresh, still curing, still finding its relationship with the ground beneath it. Where those two systems meet, you get a seam, and seams are where maintenance matters most.
Think about what happens at the roof-to-wall joint. The old roof has its own pitch, its own shingles, its own flashing strategy. The new roof ties into it at an angle. The flashing that bridges them is doing one of the hardest jobs on the entire property: shedding water across a transition between two planes that expand and contract at slightly different rates under a Mesquite summer sun. That’s why that joint is the first place to look and the last place most people check.
The same logic applies to the foundation transition. Your original slab or pier-and-beam foundation has done whatever it’s going to do. The new foundation is still in its early movement phase. In North Texas soil, which swells and shrinks with moisture, that differential movement is real and it’s normal – but it needs watching so you catch the small stuff before it becomes a crack in the drywall or a sticking door that won’t close.
The mechanical tie-ins matter too. An addition usually piggybacks on the existing HVAC system, the existing electrical panel, and the existing plumbing. Those systems were sized for the original house. Now they’re serving more square footage, and the question is whether they have the capacity to do it without being pushed to the edge. That’s a monitoring job, not a one-time check.
We’ve walked plenty of Mesquite properties where the addition was five or six years old and the homeowner had never once looked at the flashing. Sometimes everything is fine. Sometimes there’s a soft spot in the sheathing that’s been quietly growing since year two. The difference between those two outcomes is usually about twenty minutes of inspection a year, done consistently. For a deeper look at what goes into the build itself, our Home Additions & ADU in Mesquite page covers the construction side.
The Year 1 Month-by-Month Seam Inspection Checklist
Year one is the most important year. Materials are still settling, caulk is still curing, and the two halves of your house are still learning to move together. Here’s how we’d break it down.
Months 1-3: The Initial Settling Window
- Month 1: Walk the exterior perimeter of the addition and look at the caulk lines where new siding meets old. Hairline cracks are normal as caulk cures. Gaps wider than a credit card are not – note them and call the builder.
- Month 2: Check the interior drywall at the seam where the addition meets the original house. Small hairline cracks at the corner are common. Diagonal cracks running from a door or window corner are worth a photo and a call.
- Month 3: After the first good rain, walk the roof-to-wall flashing joint from the ground with binoculars. Look for staining, lifting, or gaps. Check the interior ceiling in the new space for any discoloration.
Months 4-6: The First Thermal Cycle
- Month 4: Inspect the foundation transition where new slab meets old. Look for new cracks wider than 1/8 inch. Check that the soil around the new foundation is graded away from the structure.
- Month 5: Test every window and exterior door in the addition. They should open and close smoothly. Sticking indicates differential movement that’s worth flagging.
- Month 6: Look at the HVAC performance in the new space. Is it cooling as well as the original house? Any rooms that run 3-5 degrees warmer? That’s your first signal the system may be working harder than it should.
Months 7-12: The Full Seasonal Rotation
- Month 7: Re-inspect the flashing joint after summer heat. Thermal expansion can open gaps you didn’t see in spring.
- Month 8: Check the attic or crawl space at the seam for any moisture staining on the new framing.
- Month 9: Inspect exterior caulk lines again. Any that have pulled away from the substrate need to be addressed before fall rains.
- Month 10: Look at the gutter system serving the addition. Water should flow away cleanly. Pooling or overflow means the capacity isn’t right.
- Month 11: Schedule your one-year professional walkthrough. This is the most important inspection on the entire schedule.
- Month 12: Review the HVAC filter and any ductwork serving the new space. Dust buildup tells you how hard it’s working.
Keep a simple log. Date, what you checked, what you saw, photos. When you call a contractor at year three, that log is worth its weight in gold because it shows the history of the seam. If you’re in Mesquite and the ADU is on a separate meter or a separate HVAC zone, add those systems to the log too.
North Texas Seasonal Maintenance: How Mesquite Climate Hits Additions Differently
Mesquite sits in that part of North Texas where summers are brutal enough to push building materials to their expansion limits and winters are cold enough to move the ground underneath you. An addition experiences both extremes more intensely than the original house, for one simple reason: the new materials haven’t fully acclimated to the local cycle yet. The first two years are when the joint learns how to behave in this climate.
Summer: Thermal Expansion
A Mesquite July routinely pushes attic temperatures past 150 degrees and exterior surface temperatures on dark siding above 140. Wood framing expands, vinyl and fiber cement siding expand, and the flashing that bridges old and new does its best to move with both sides at once. That’s where you’ll see the first evidence of trouble: caulk that’s pulled away from the joint, a screw that’s backed out of a flashing lap, a drip edge that’s slightly separated from the shingle above. These are small things in July. By October they’re the reason water gets in.
Fall: The Transition Window
When temperatures start dropping, materials contract. This is when gaps that opened during summer can close up, which is exactly why you inspect in both seasons, not one. A flashing lap that looked tight in August may reveal a hairline gap in October once everything has contracted. Fall is also your last good window to address exterior caulk and flashing before winter rain.
Winter: Ground Movement
The clay-heavy North Texas soil expands when wet and shrinks when dry, and a hard freeze followed by a warm spell in January can move a foundation more in a week than it moves all summer. New foundations are more susceptible because they haven’t reached their equilibrium. Watch the foundation transition at the seam closely in January and February. Small cracks that appear and stay stable through spring are usually normal. Cracks that keep widening are not.
Spring: The Catch-Up Inspection
After winter, do a full walkthrough. Look at the interior drywall seams, the exterior caulk, the flashing joint, and the attic framing. Spring is when you’ll see the cumulative result of everything the addition went through over the winter. Catch it now and you have all summer to fix it before the next cold season.
This seasonal rhythm is the same for a full addition in Mesquite and for a detached ADU out in the county, but detached structures catch more wind load and more direct sun, so the exterior material checks matter more. If your property also has a driveway or hardscape serving the ADU, our Driveway & Pavers in Mesquite page covers drainage and surface maintenance that supports the structure.
HVAC Load Monitoring: Is Your Existing System Overtaxed?
Here’s the question that catches most addition owners off guard: is your existing HVAC system designed to handle the extra square footage, or is it just coping? If it’s the latter, you have a problem that won’t announce itself with a bang. It’ll announce itself with a compressor that fails in year four on the hottest day of August, and by then you’re looking at a full system replacement instead of a smaller fix.
A properly sized system keeps every room within a couple of degrees of the set point. When an addition pushes the system past its capacity, you see specific warning signs. Learn them now and you’ll catch the problem early.
- Temperature splits. The new room runs consistently 3 degrees or more warmer than the rest of the house in summer, or cooler in winter. That’s a duct sizing or airflow problem.
- System runtime creep. The AC runs noticeably longer in July of year two than it did in July of year one, with the same outdoor temps. The system is working harder.
- Hot and cold spots. The new space never quite reaches set point while the original space is comfortable. Airflow is short.
- Higher-than-expected electric bills. A 15 to 20 percent jump in summer bills after the addition, with no rate increase, points to HVAC strain.
- Short cycling. The system turns on and off more frequently than it used to. That’s a sign the system is confused about load, often because it was sized for the original house and can’t modulate to handle the new demand.
- Frozen evaporator coils. Ice on the indoor coil in summer means airflow is restricted or refrigerant is low. Either way, the addition is overtaxing the system or exposing an underlying problem.
- Loud compressor, frequent cycling, or tripped breakers. Any of these on a system that was fine before the addition is a red flag.
If you’re seeing two or more of these signs, have an HVAC tech run a Manual J load calculation on the entire house. That’ll tell you definitively whether your existing system is properly sized or whether you need a dedicated mini-split or a second zone for the addition. Catching it early is the difference between a $2,500 fix and a $9,000 replacement. The same principle applies to the electrical panel and the plumbing. If your panel was near capacity before the addition, adding a new circuit for the ADU kitchenette or a dedicated subpanel for an EV charger can put you over the edge. It’s worth checking with an electrician in year one, not waiting for a breaker to trip.
Caulk and Flashing: What Deterioration Looks Like Before It’s a Claim
This is where we see the most expensive damage in Mesquite, and it’s also where inspection is the cheapest insurance you’ll ever buy. The flashing joint where the new roofline meets the existing one is the single highest-risk spot on the entire addition. Here’s what to look for before it becomes a claim.
What Healthy Flashing Looks Like
Properly installed flashing is mechanical, not just sealing. It’s metal, lapped in the direction of water flow, screwed or nailed down, and sealed with a compatible caulk or sealant at the edges. When it’s healthy, the metal is tight to the surface, the fasteners are flush, and the sealant is pliable, not cracked. Step back and look at the joint from the ground with binoculars. You should see a clean, continuous line with no gaps, dips, or lifting.
What Deterioration Looks Like
- Caulk pulling away from the siding or wall. The sealant has lost its bond and a gap is visible. Water gets in behind the siding.
- Caulk that’s cracked, chalky, or crumbly. Sun and heat have degraded the material. It’s no longer sealing anything.
- Lifted or separated flashing laps. The metal is no longer tight. Water can migrate sideways behind the flashing.
- Rust stains or water streaks on the siding or the roof below the joint. Water is escaping out of the wrong place, which means it’s been getting in.
- Lifted or curling shingles at the roof-to-wall transition. The shingles around the flashing are failing, which exposes the joint underneath.
- Screws backing out or fasteners showing rust. The mechanical connection is loosening, which opens gaps at the lap.
- Dark staining on the sheathing visible from the attic. Water has already penetrated. This needs a professional evaluation immediately.
The Inspection Cycle
Inspect the flashing joint and the primary caulk lines twice a year: once in spring after winter, once in fall after summer. In the first three years, add a visual check after every significant rain. Caulk has a service life of five to seven years on exterior surfaces in Texas sun, so plan to re-caulk the joint around year five even if it looks fine. Re-caulking is a two-hour job. Replacing rotted sheathing at the joint is a five-figure job. The math is obvious. If you see staining inside the addition, or the caulk is failing across a long stretch of the joint, bring in a professional – the repair may involve re-flashing the joint, and that’s beyond routine maintenance.
Year 3 and Year 5 Professional Inspection Checklists
By year three, the addition has been through three full seasonal cycles. The materials have largely acclimated. The joint has settled into its long-term behavior. That’s the right moment for a real professional walkthrough, and it’s worth knowing what to ask for so you can brief the contractor before they walk the property. Here’s the checklist we’d hand a homeowner to work through with any contractor.
Year 3 Professional Inspection Checklist
- Roof-to-wall flashing joint: full inspection of the metal, laps, fasteners, and sealant. Re-caulk as needed. Probe the sheathing behind the joint for soft spots.
- Foundation transition: check for new cracks wider than 1/8 inch, differential movement between slabs, and water management at the transition.
- Exterior caulk lines: full perimeter inspection. Re-caulk any joints that are failing. Pay particular attention to transitions between dissimilar materials.
- Attic inspection at the seam: look for moisture staining, condensation, daylight, and pest intrusion. Check that the insulation is intact and properly baffled.
- HVAC performance: have the system serviced and verify airflow at every supply register in the addition. Confirm the system is keeping the new space within 2-3 degrees of set point.
- Windows and exterior doors: check operation, weatherstripping, and glazing. Sticking or leaking windows need attention before they cause wall damage.
- Gutters and drainage: the gutters serving the addition need to flow cleanly. Check downspout discharge and grade at the foundation transition.
- Interior drywall at seams: inspect for new cracks, especially at corners and openings. Document with photos.
- Electrical and plumbing tie-ins: check for any signs of strain or overheating at the panel, and any new leaks or discoloration at plumbing joints in the addition.
Year 5 Professional Inspection Checklist
- Full roof inspection: shingles at the transition, flashing condition, and overall roof health. The original roof may be aging faster than the new one, which can affect the joint.
- Re-caulk all exterior joints: at this point, plan to re-caulk the entire exterior of the addition, not just repair failing joints. Caulk has a five-to-seven-year life in Texas.
- Moisture meter test: bring a moisture meter to the sheathing and framing at the seam. This is the single most reliable test for hidden water intrusion.
- Foundation check by a structural engineer if you have any wider-than-normal cracks or doors that won’t close. Otherwise, a contractor inspection is sufficient.
- HVAC full evaluation: determine whether the system is properly sized for the combined load or whether a second zone or supplementary unit is warranted.
- Structural check: inspect the header beams, structural connections, and any load-bearing elements for the addition.
- Insulation and air sealing: check attic insulation values, air sealing at the seam, and any signs of thermal bridging or air leakage.
- Final report: document everything with photos and a written report. That report becomes your baseline for the next five years.
If your addition is a detached ADU in Mesquite, add an item to year three and year five: check the detached structure’s foundation and exterior siding independently of the main house. Detached ADUs take more wind and more direct sun, and they don’t benefit from the main house’s wind-break. The maintenance contract on a detached ADU is genuinely a bit more work than a bump-out addition.
Foundation and Ground Movement Around New Construction
North Texas soil is a living thing. It swells when it gets wet and shrinks when it dries, and the movement around a new foundation is one of the most reliable forecasts of the trouble you might have later. In the first two to three years, the new foundation is finding its equilibrium. Watch it. Understand it. Intervene early if something’s wrong.
The single best maintenance practice around any new foundation is water management. Water the foundation evenly during dry spells, keep the grade draining away from the structure, and keep gutters and downspouts functioning. In Mesquite, the difference between a foundation that stays stable and one that develops cracks is often just whether the soil around it has been kept at consistent moisture. A soaker hose on a timer during July and August is one of the cheapest investments you can make.
Watch the transition where new construction meets old. A small crack at the seam, less than 1/8 inch, appearing in the first two years is often normal settling. A crack that widens past 1/4 inch, or a door in the addition that goes from closing smoothly to sticking within a few weeks, is not. That’s a signal from the foundation and it’s worth a professional look, especially if the original house is also showing movement. The original structure’s foundation and the addition’s foundation have to work together, and if one is moving faster than the other, the seam bears the brunt of it.
Around the exterior, keep an eye on how water behaves. The addition changes the drainage pattern of the entire lot. Water that used to flow away from the original house may now be redirected toward the addition, or vice versa. After the first heavy spring rain, walk the property and see where the water actually goes. Adjust the grade if it’s pooling near the addition foundation, and extend downspouts if they’re dropping water too close to the structure. If you’re also considering fencing around the addition, our Fence Installation in Mesquite page covers post footings and drainage considerations that can affect the ground movement around your foundation.
Common Mistakes to Avoid
- Skipping the one-year inspection. The one-year professional walkthrough is the single most important check on the entire schedule, and it’s the one most homeowners skip. By year one, every seam has had enough time to reveal its first real signals. Skipping it means you find the problems in year three instead of year one, when repairs are cheaper.
- Ignoring small cracks. A hairline crack at the drywall seam in year one is often normal. A hairline crack in year three that’s still growing is not. The size and the direction matter. Diagonal cracks from window corners are the ones to photograph and get evaluated.
- Re-caulking over wet, dirty, or failing substrate. New caulk applied over a wet joint or failing old caulk is a waste of money. The old caulk has to come out, the joint has to dry, and the surface has to be clean before the new sealant goes on. Anything less and it’ll fail within a year.
- Assuming the HVAC system is fine because the new room feels cool. A system can be keeping the new space cool enough while it’s running at 100 percent capacity for hours a day. That’s a slow death for the compressor. Check the runtime and the temperature splits, not just whether the room feels comfortable at a given moment.
- Letting the attic go unexamined at the seam. The most common place for hidden water intrusion in a Mesquite addition is the interior of the framing at the roof-to-wall joint. It’s invisible from the living space and it’s the kind of thing you find only by walking the attic with a flashlight twice a year.
- Watering the addition’s foundation the way you water the lawn. Short daily sprinkles don’t do the job. Deep, even watering that keeps the soil at consistent moisture is what the foundation needs. In the midst of a Mesquite August, a lawn that’s being watered daily can still leave the soil under the addition bone dry if the water isn’t reaching deeply.
- Not keeping a log. When you call a contractor at year three or year five, the difference between a productive conversation and a guessing game is a written record with photos. Keep it simple. Date, location, what you saw, one photo. That log is the most valuable document you’ll have if you ever need warranty work.
See the difference
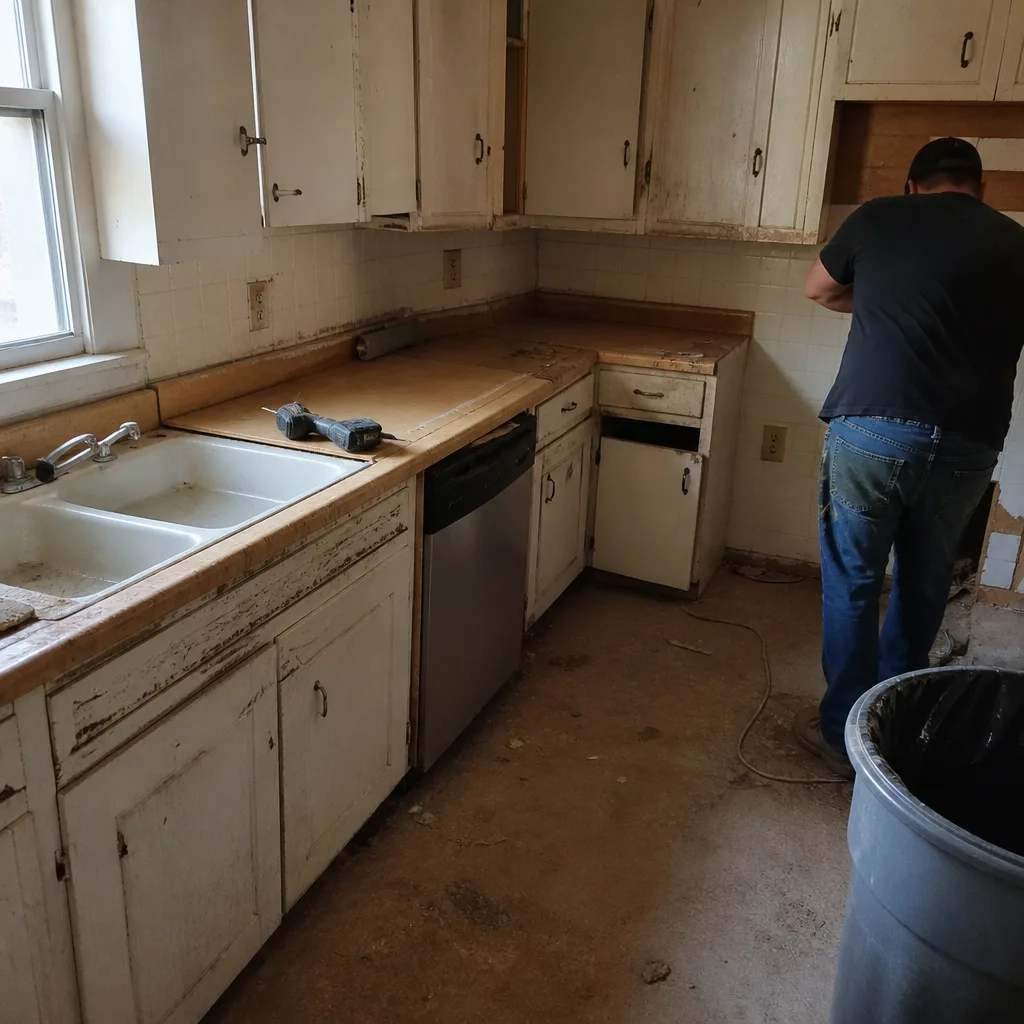 Before
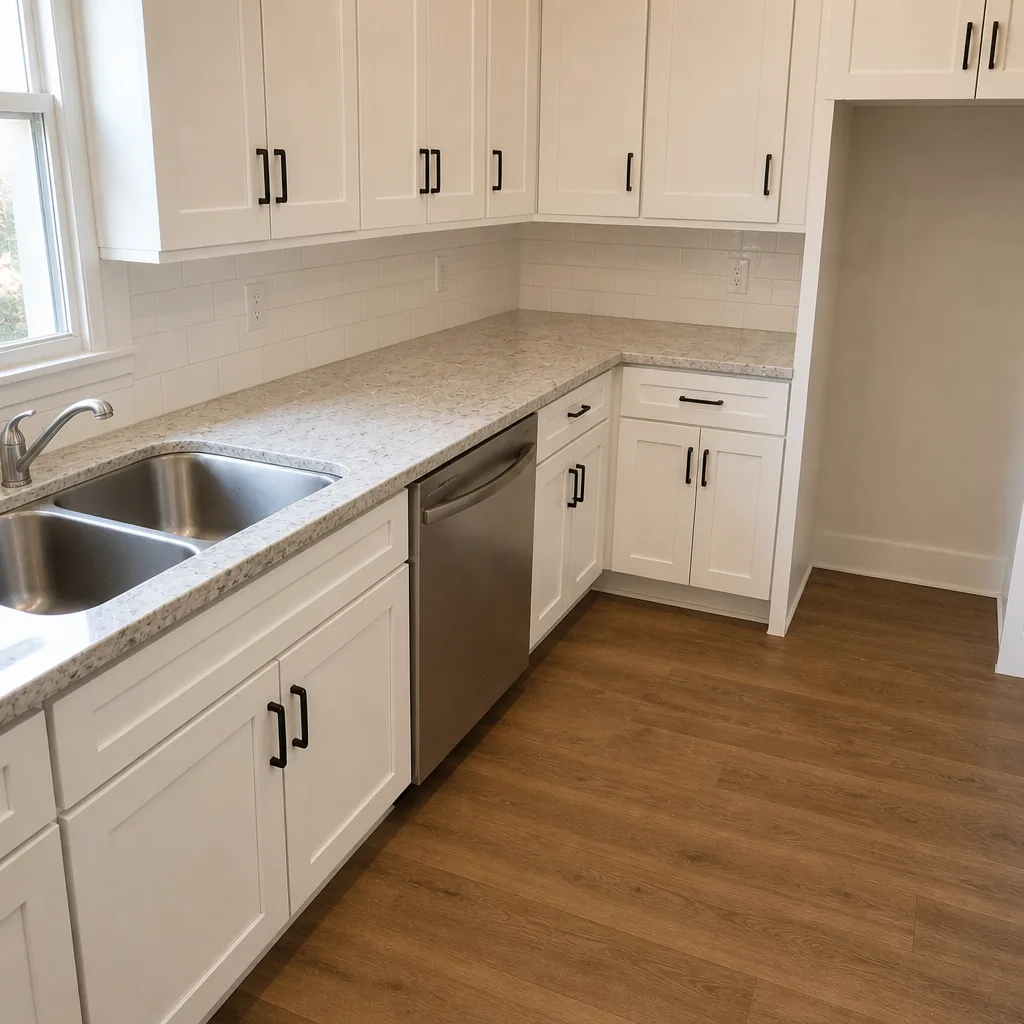 After
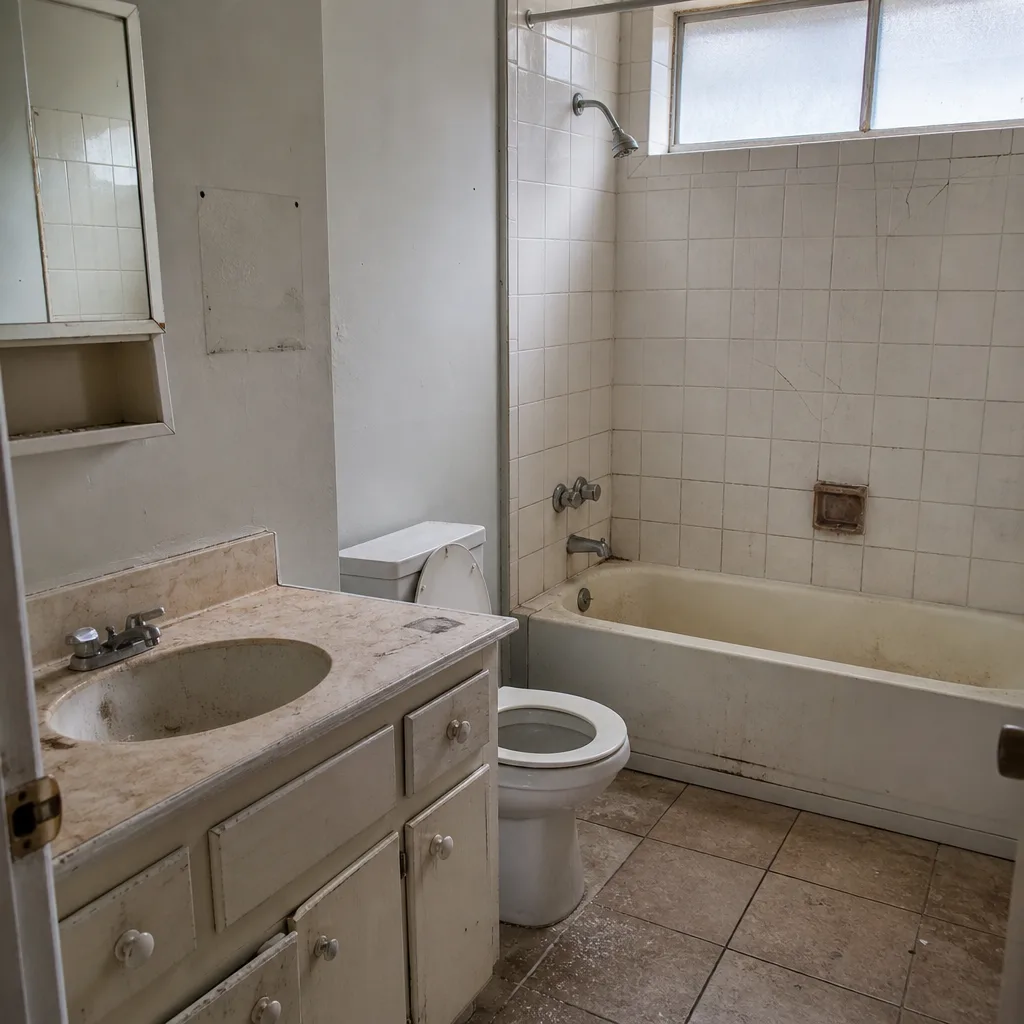 Before
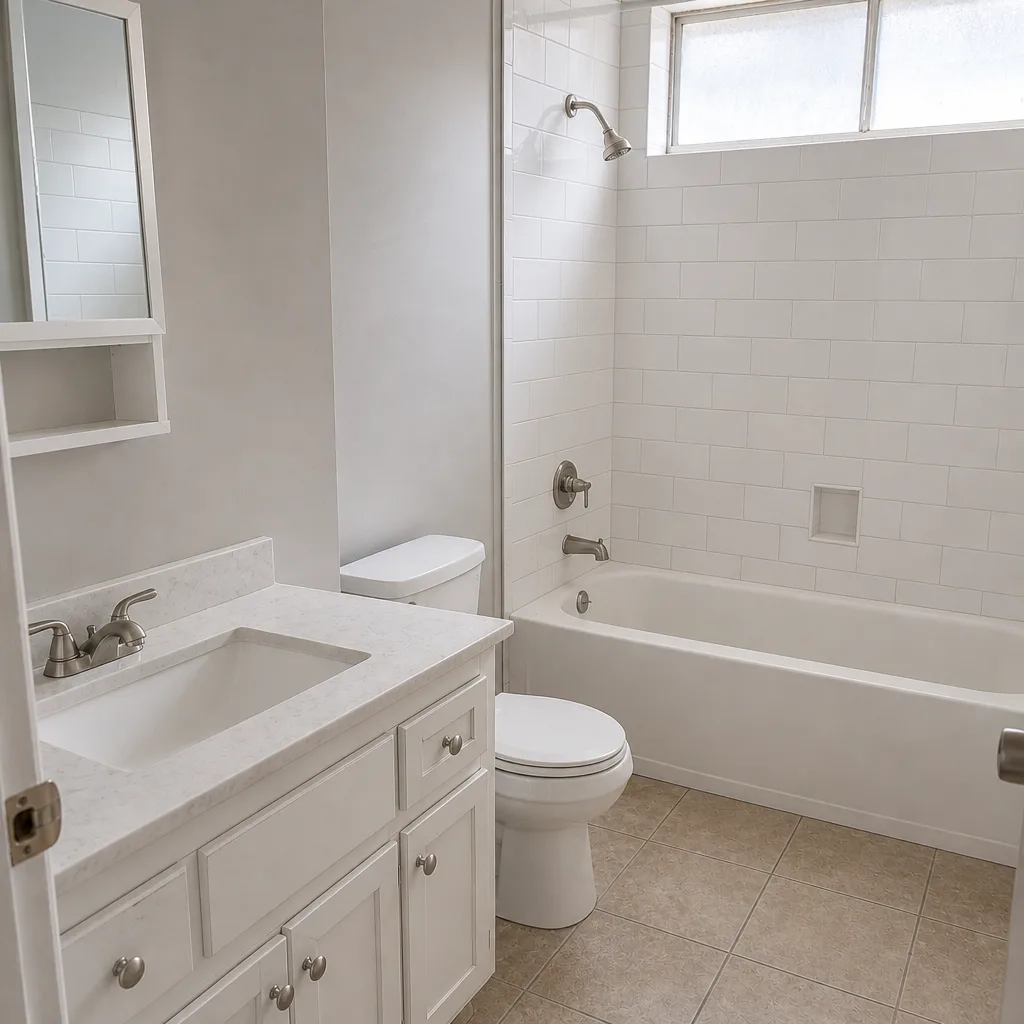 After
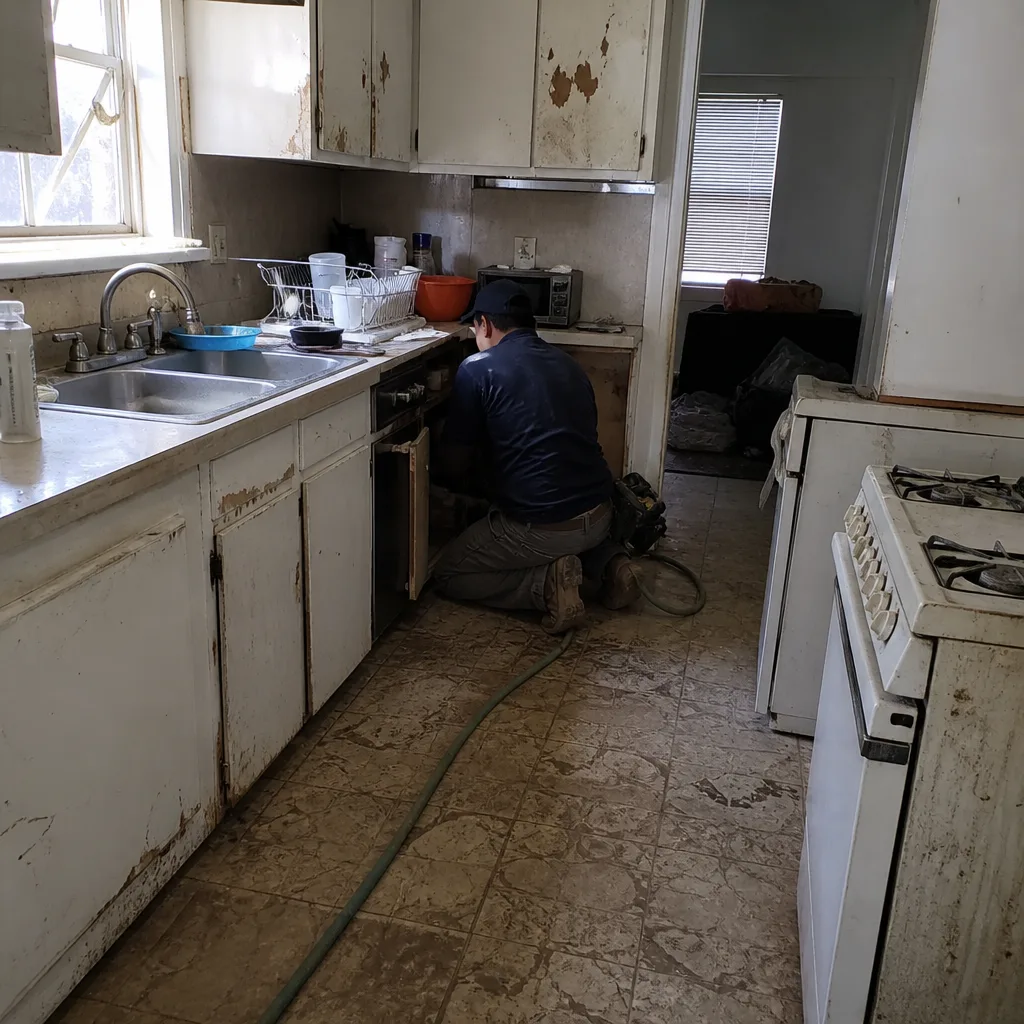 Before
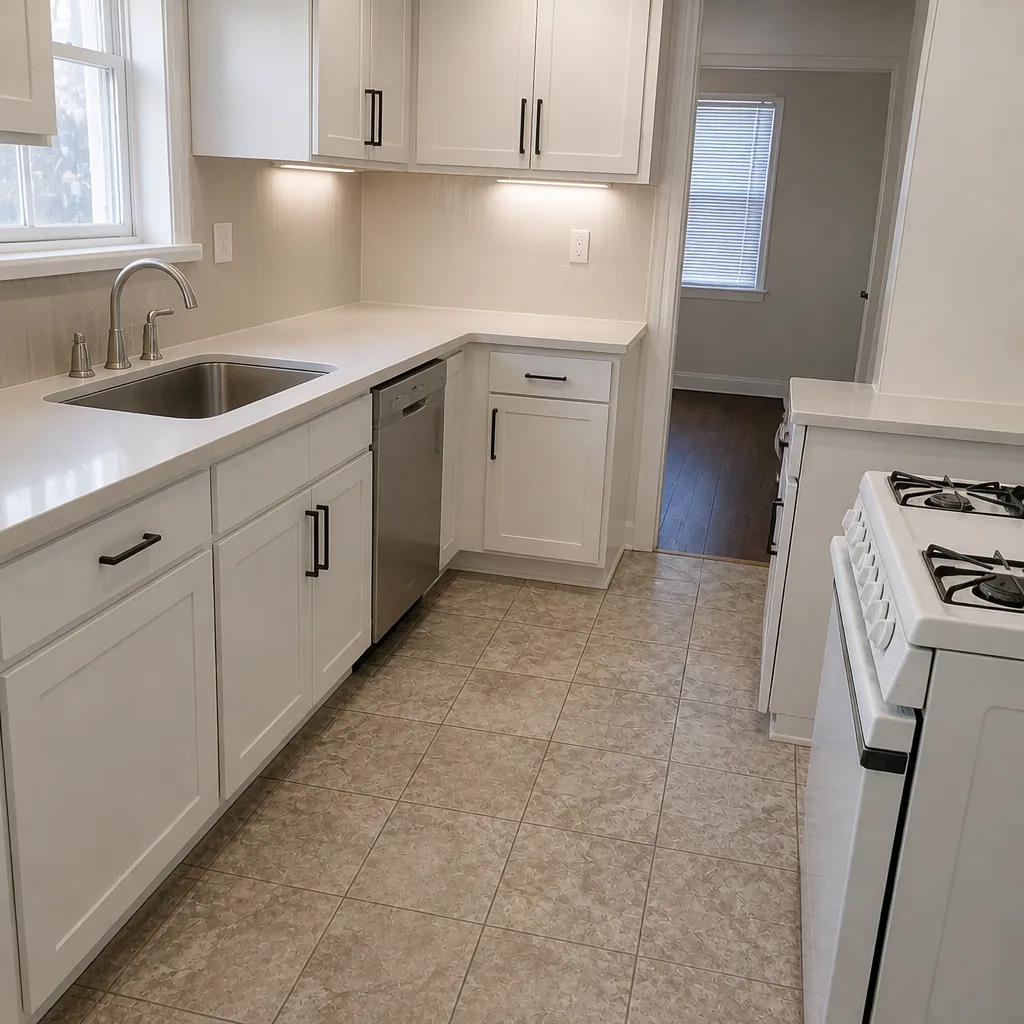 After
When to Call a Professional
Most of the maintenance on this schedule is work you can do yourself with a flashlight, a notebook, and a hose. There are specific moments, though, when you shouldn’t. Call a professional if you see active water staining on the interior ceiling or framing at the seam, if flashing has lifted or separated from the roof, if you have a crack in the foundation or the drywall wider than 1/4 inch, if a window or door in the addition has suddenly stopped closing properly, or if the HVAC system is showing two or more of the overload signs listed above. Those situations need someone who can evaluate the root cause, not just the symptom.
Groundwork Construction Co. of Mesquite offers free estimates in Mesquite, backed by our 730-Day Done Right Promise on workmanship. Calls are answered by a live person, 24/7. Call (888) 426-8078 to schedule an inspection, walk the seam with a technician, and get a straight answer on whether what you’re seeing is normal settling or a problem worth fixing now. Our technicians have up to 12 years of experience on structural seams exactly like the one on your addition.
Frequently Asked Questions

Inspect the flashing joint at the roof-to-wall transition twice a year, once in spring after winter and once in fall after summer, and after every significant rain in the first three years. In Mesquite’s climate, exterior caulk has a five-to-seven-year service life, so plan to re-caulk the joint around year five even if it looks intact. A five-minute visual inspection twice a year catches most problems before they become water damage.
The clearest signals are a new room that runs 3 degrees or more warmer than the rest of the house in summer, a system that runs noticeably longer than it did before the addition, and higher electric bills without a rate increase. If you see two or more warning signs, have a technician run a Manual J load calculation on the combined house. If you’re in Mesquite and the addition is over five years old, a full system evaluation is worth doing at the year five mark regardless. Call (888) 426-8078 for a free assessment of the seam and the mechanical tie-ins.
A crack wider than 1/4 inch, a crack that’s actively widening, or a door in the addition that goes from closing smoothly to sticking within a few weeks are all signals to call a professional. Hairline cracks under 1/8 inch that appear and stay stable through the first two years are usually normal settling. The size, the direction, and whether it’s still moving are what matter, not just whether a crack exists.
Not always, but it’s worth checking at the design stage and again at the year three inspection. A detached ADU in Mesquite typically works best with its own mini-split or small dedicated system, because running ducts from the main house to a detached structure creates significant energy loss. An attached addition can often tie into the existing system if the system has the capacity. The only way to know is to run the load calculation on the combined floor area.
An addition has a seam between old and new construction, and that seam needs a different maintenance rhythm than either structure alone. The first three years are the critical window because materials are still settling and the two halves of the house are learning to move together. After year five, the addition settles into a normal annual maintenance rhythm, but the seam is still the first place to check. A standalone house doesn’t have that seam, which means it doesn’t need the same intense early monitoring.
Bring your maintenance log with photos and any concerns you’ve noted. Walk the seam with the contractor yourself before they start the formal inspection. Point out any cracks you’ve seen widen, any HVAC temperature splits you’ve noticed, and any areas where you’ve already done repairs. A contractor who has your history walks the property looking for specific issues. A contractor without it walks the property looking for anything. The first is faster, cheaper, and more accurate. Call (888) 426-8078 to schedule a free inspection in Mesquite – estimates are free and there’s no obligation.
The Bottom Line
An addition or ADU is a structural seam between old and new construction, and its maintenance schedule is built around protecting that seam: the roof-to-wall flashing, the foundation transition, the caulk lines, and the mechanical tie-ins that serve the combined house. The first three years matter most because that’s when the seam is still settling. Inspect twice a year, schedule professional walkthroughs at year one, three, and five, and keep a log with photos. If you see water staining, widening cracks, or HVAC strain, call a professional before small symptoms become expensive repairs. Backed by our 730-Day Done Right Promise and 12 years of technician experience, Groundwork Construction Co. of Mesquite is here to walk the seam with you. From foundation to finish line, built to last and backed in writing. Call Groundwork Construction Co. of Mesquite home at (888) 426-8078.
Written by the team at Groundwork Construction Co. of Mesquite.