Last updated November 17, 2026







Free written scope consultation - allowances, timeline, and change-order rules on paper before a single trade is scheduled
Bathroom Remodeling Troubleshooting: Common Problems and How to Fix Them
A bathroom tile job that looks flawless on day one can be hiding a failed waterproofing membrane that won’t reveal itself until month eighteen. By then, the subfloor replacement costs more than the original tile work, and you’re pulling apart a shower you thought was finished for good. Water in an enclosed, tiled space doesn’t announce itself the way a roof leak does. It creeps behind cement board, soaks into framing, and softens drywall from the back side where nobody looks. That’s why bathroom remodeling problems are uniquely punishing: the failures are silent, and the damage compounds quietly until something structural gives way.
This guide is built to catch those failures while they’re still cheap to fix. We’ll walk through waterproofing, ventilation, plumbing rough-in, and tile tell-tales, then hand you a 30-day and 6-month inspection checklist you can run yourself. Everything here comes from what we’ve actually seen in Mesquite homes, and it’s written for homeowners who plan to hold their contractor accountable in writing.
Quick Answer
Most bathroom remodel problems trace back to four root causes: a failed or improperly lapped waterproofing membrane, undersized ventilation for the room’s cubic footage, plumbing rough-in errors that pass inspection but perform badly, and tile laid over an unstable substrate. You can diagnose the first three without tearing out tile by watching for specific patterns: efflorescence and grout darkening for moisture, ceiling and grout-line mold for airflow, and slow drains or water hammer for rough-in. Tile failures split into cosmetic (grout haze, minor lippage) and structural (hollow thuds, spiderweb cracking, movement at joints), and only structural failure demands a teardown.
Styles & brands we work with
- Kitchen remodeling
- Bathroom remodeling
- Home additions & ADU
- Roofing
- Windows & doors
- Driveway & pavers
- Fence
Table of Contents
- Waterproofing Failures: The Hidden Killer of Bathroom Remodels
- Ventilation Problems: Reading the Mold Patterns on Your Ceiling
- Plumbing Rough-In Problems That Survive Inspection
- Tile and Grout: Telling Cosmetic From Structural
- The 30-Day Post-Remodel Checklist
- The 6-Month Post-Remodel Checklist
- Mesquite-Specific Issues: Climate, Slab, and Water
Waterproofing Failures: The Hidden Killer of Bathroom Remodels
Waterproofing is the part of a bathroom you pay for once and never see again, which is exactly why it’s the part that gets rushed. In our experience, the three most common failures are a missing or improperly lapped membrane, unsealed penetrations around valve bodies and drain flanges, and grout-only shower floors with no flood test behind them. Each one fails on a different schedule, and each one gives you different clues before the damage surfaces.
How improper lapping fails: a liquid-applied or sheet membrane must overlap in shingle fashion so water always runs down over the next layer, never behind it. When a membrane is lapped the wrong direction, or installed with gaps at inside corners, water wicks behind it at a rate of a few teaspoons a day. That’s slow enough to dodge a visual inspection and fast enough to rot a 2×4 sole plate inside two years.
How to identify these without tearing out tile:
- Efflorescence at the grout lines. A white, chalky bloom near the shower floor or on the first course of wall tile signals moisture pushing salts out from behind the tile. It’s one of the earliest visible signs of a failing membrane.
- Persistent grout darkening. Grout that stays dark in one patch long after a shower is normal for the rest of the field is trapping moisture from behind, not just surface water.
- A soft or spongy feel underfoot. Press firmly across the shower floor with a heel. Any give in a tile set over a proper mud bed or foam pan is a red flag for a compromised substrate below.
- Bubbling or peeling paint on the opposite side of the shower wall. Drywall facing the shower wall will blister before the tile side shows anything.
- Musty odor that returns after cleaning. That smell is mold in a wet cavity you can’t reach with a sponge.
If you’re seeing two or more of these, the fix isn’t a new bead of caulk. It’s a flood test or a moisture meter reading taken through a small access cut, and it’s worth having a professional confirm before you commit to a tear-out. Since 2014 we’ve watched this pattern repeat across Mesquite, and it’s the single most expensive problem a homeowner can miss during a remodel.
Ventilation Problems: Reading the Mold Patterns on Your Ceiling
Bathroom ventilation fails more often than any other building system we touch, and it fails silently because nobody measures airflow. The rule of thumb: a bath fan should move at least 1 CFM per square foot of bathroom floor area, with a bump for every fixture. A 50-square-foot bathroom needs a 50 CFM fan; a large master bath with a separate tub area and a long duct run usually needs 80 to 110 CFM to actually dry the room.
Most bathroom exhaust fans are rated at their listed CFM in a lab with a short, straight, smooth duct. The moment you add elbows, flex duct, or a long run to an exterior wall, real-world airflow drops, sometimes by 30 to 50 percent. That’s why a fan that sounds like it’s working can be doing almost nothing.
How to read the mold patterns:
- Mold on the ceiling above the shower. Classic sign of insufficient exhaust or a fan that’s pulling from a leaky attic. Moisture condenses on the coolest surface and grows where it sits.
- Mold concentrated in grout lines on the upper walls. Airflow is stalling before it reaches the fan, often because the intake grille is clogged or undersized.
- Mold at the ceiling-wall junction on the far side of the room. The fan is too small to reach the corners, so those areas stay humid longest.
- Peeling paint on the ceiling near the fan. The fan is running but the room stays wet, usually a ducting problem.
Quick diagnostics you can run:
- Hold a single square of toilet paper against the fan grille with the fan on. If it won’t stay, the fan is pulling next to nothing.
- Check the grille for dust. A clogged cover cuts airflow far more than most homeowners assume.
- Time a shower. If the mirror is still fogged 10 minutes after you turn off the fan and leave the door open, the fan is undersized or the run is restricted.
- Look for the exterior vent on the roof or wall. If you can’t find it, the fan may be dumping humid air straight into the attic, which is a bigger problem than the mold.
If your home is older and the fan is original to the build, replacing it with a properly sized, quiet unit is one of the highest-value fixes in a Mesquite bathroom. It costs far less than the drywall and paint repair a chronic humidity problem will eventually demand.
Plumbing Rough-In Problems That Survive Inspection
A plumbing rough-in can pass inspection and still perform badly for years. Inspectors check for leaks, proper slope, venting, and code-compliant connections. They do not run your shower for twenty minutes to see how it drains, and they don’t stand in your hallway to hear water hammer. That gap between what passes and what performs is where most homeowner complaints live.
Four rough-in problems that survive inspection:
- Slow drains after a remodel. Almost always a slope problem or a partially blocked trap arm. A new drain line that drops less than 1/4 inch per foot drains slowly but never leaks, so it passes. The clue is a sink or tub that drains fine cold but slows as the water heats up, or gurgling at the vent.
- Pressure drop after a valve change. When a remodel swaps a standard valve for a thermostatic or pressure-balancing valve, the new cartridge can restrict flow if the supply lines are undersized or partially clogged with debris. The tell is reduced flow at one fixture only, or a shower that gets weaker when the sink runs.
- Water hammer. That banging in the wall when a valve closes is a shockwave with nowhere to go. Usually caused by a missing or failed arrestor, or by high incoming pressure. It’s not cosmetic: repeated hammering loosens pipe straps and can crack solder joints over time.
- Toilet or tub drains that smell. A missing or improperly installed vent, or an unsealed wax ring, lets sewer gas back into the room. Inspectors check the connection; they don’t check whether the vent is actually open.
Fixing these is rarely a teardown. A slow drain often gets corrected by re-sloping a short run or clearing a partial obstruction. Water hammer gets solved with an arrestor or a pressure-reducing valve. Pressure drop usually traces back to a clogged cartridge screen or a supply line that needs upsizing. If you’ve changed a Delta or Moen valve during a remodel and your pressure dropped, that’s a service call, not a structural problem, and it’s worth calling before the workmanship window closes.
Tile and Grout: Telling Cosmetic From Structural
Not every tile problem is a disaster, and knowing the difference saves homeowners from tearing out work that’s actually fine. The dividing line is the substrate. Cosmetic issues live in the surface layer. Structural issues mean the tile is moving away from what’s underneath it, and no amount of regrouting will fix that.
Cosmetic issues (usually fixable without removal):
- Grout haze. A dull film left on tile after grouting. Cleans off with a proper grout haze remover.
- Minor lippage. A slight height difference between adjoining tiles, usually under 1/32 inch. Annoying underfoot or to the eye, not a failure.
- Hairline cracks in grout at inside corners. Normal settling as framing dries. Recaulk with flexible sealant, not grout.
- Efflorescence on grout. White bloom that scrubs away and doesn’t return is usually surface salt, not a membrane problem. If it returns every few weeks in the same spot, treat it as a moisture issue.
Structural issues (demand investigation):
- Hollow thuds when you tap the tile. A dull clack across a field of tiles means the thin-set let go from the substrate. Isolated hollow spots are cosmetic; a contiguous area is not.
- Spiderweb or radiating cracks from a corner or center. The tile is being pushed from below, usually by substrate movement or an improperly set underlayment.
- Tiles that move under thumb pressure. Anything that flexes has already failed at the bond line.
- Cracked grout that runs in a straight line across multiple tiles. That’s a substrate crack telegraphing through, not a grout issue.
- Lippage that grows over months. If the same tiles are getting worse, the subfloor is moving.
The tap test is your best tool and it costs nothing. Walk the floor and tap every tile in a grid with a plastic mallet or the handle of a screwdriver. Note the hollow spots on a simple floor plan sketch. If 10 percent or more of the field is hollow, or any hollow area is larger than a dinner plate, have it inspected. On a Mesquite slab foundation, small isolated hollows are common and often harmless; large contiguous ones usually trace to a moisture barrier or substrate error from the original install.
The 30-Day Post-Remodel Checklist
The first month after a remodel is when most workmanship failures become visible, and it’s also when your warranty is freshest and easiest to invoke. Run this checklist in week four, with a notepad and your phone camera. Document everything with photos and dates. The 730-Day Done Right Promise from Groundwork covers workmanship for years, but catching issues at day 30 makes the fix simpler and cheaper for everyone.
- Inspect every caulk line in the shower and around the tub. Look for cracking, pulling away, or dark staining. Caulk is your first-line defense and it should still be intact at 30 days.
- Run each fixture for two full minutes and time the drain. Note any gurgling, slow drainage, or pressure drop. Compare to how they performed on day one.
- Flush every toilet and listen for water hammer. Bangs, clanks, or a toilet that keeps running after the fill are all fixable.
- Run the bath fan for 20 minutes with the door closed, then check the mirror. If there’s condensation on it when you come back, the fan is undersized or restricted.
- Tap every floor tile in a grid pattern. Mark hollow spots on a sketch. Take photos.
- Check the ceiling below the bathroom (or the adjacent room) for water stains. This is the fastest way to catch a slow leak behind a wall before it becomes structural.
- Look for grout cracking. Hairline corner cracks are normal and cosmetic; straight-line cracking across the floor is not.
- Confirm the exterior vent is actually venting outside. Step outside and look for the flapper or louver. If you only see an attic vent, get it documented.
- Check paint and drywall for blisters or bubbles. Especially near the shower, tub, and toilet.
- Take dated photos of everything and store them somewhere you’ll find them. Your workmanship claim depends on records.
The 6-Month Post-Remodel Checklist
By month six, seasonal humidity swings have done their work. A bathroom in Mesquite sees its framing and subfloor expand and contract with the Texas summer, and any weakness in the waterproofing or ventilation gets exposed. This is the second-most-important inspection window of the remodel’s life, and it’s the last convenient moment to invoke a workmanship guarantee before the problem grows into something structural.
- Look for new cracks in grout or caulk that weren’t there at 30 days. Some seasonal cracking is normal; new cracking every few weeks is a sign.
- Re-run the tap test on floor and wall tile. Note any tiles that were solid at 30 days and are hollow now.
- Check for efflorescence returning in the same spot. A second bloom in the same location is a membrane or weep issue.
- Smell the room after 24 hours of no use with the door closed. A musty odor that returns repeatedly is the strongest non-invasive signal of trapped moisture.
- Inspect the ceiling and walls one inch out from every corner. Paint bubbling or discoloration there traces to airflow short-cycling.
- Test water pressure at every fixture with a simple gauge or a bucket-fill test. Compare to your 30-day reading.
- Check the toilet base and the tub surround for give or softness. A soft subfloor under a toilet is a rot diagnosis, not a cosmetic issue.
- Look for rust or corrosion on any fixture or valve trim. Small rust lines at escutcheons can hint at a slow supply line weep.
- Photograph everything again. Keep the 30-day and 6-month sets side by side. A before-and-after comparison is what gets a warranty claim approved quickly.
If anything on either checklist surprises you, don’t sit on it. The 730-Day Done Right Promise exists precisely so a homeowner with a documented problem gets it fixed without an argument. But the paperwork is easier when the fix happens at month six, not month thirty.
Mesquite-Specific Issues: Climate, Slab, and Water
Mesquite sits on the eastern edge of the Dallas-Fort Worth metro, and the local conditions shape which bathroom failures you’re most likely to see. Three stand out:
Slab-on-grade foundations and moisture migration. Most Mesquite homes are built on post-tension or conventional slab foundations, and bathrooms sit directly on that slab. When a shower pan leaks, the water doesn’t go into a basement (there isn’t one). It migrates laterally through the slab and into adjoining living areas or the exterior foundation line, where it shows up as a hot spot of damp soil or an interior baseboard that swells. That makes hidden leaks harder to trace, and it’s why a slow shower pan failure often ends up costing more here than in a crawl-space market.
The Texas summer drying cycle. Our summers run hot and dry, and the relative humidity inside a Mesquite bathroom swings hard between seasons. Grout and caulk that performed well in a spring installation can start cracking by August, especially along inside corners and at the ceiling line. That’s a natural part of the cycle, and it means your 6-month checklist is more important here than in a climate with stable humidity. Recaulk when you see it; don’t wait for water to find the gap.
Water hardness. North Texas water runs moderately hard, which leaves mineral deposits on shower glass, valve cartridges, and drain covers. A cartridge that looks clean can be scaled enough to restrict flow, and a Delta or Moen single-handle valve that suddenly feels stiff or drops pressure is more likely to be mineral buildup than a failed valve. Removing and soaking the cartridge in white vinegar is the usual first troubleshooting step.
If you’re remodeling in Mesquite and want a partner who knows the slab conditions, the local inspection process, and what summer does to a new grout line, that’s the work we do. We also handle the broader projects around the bathroom, from a full Groundwork Construction Co. of Mesquite home package to the exterior work like Driveway & Pavers in Mesquite and Fence Installation in Mesquite, and we can frame the bathroom in the context of a larger Home Additions & ADU in Mesquite if you’re expanding the footprint.
Common Mistakes to Avoid
- Sealing a failing shower pan with silicone. A bead of silicone over a cracked joint hides the leak from view while the water continues to find a path into the subfloor. It buys you weeks and costs you months of detection.
- Assuming a fan that sounds loud is moving air. Sound output and airflow are unrelated specs. An undersized fan on a long flex duct can be louder than a properly sized one and dry the room less.
- Ignoring water hammer. The bang in the wall when the toilet fills is a signal, not a quirk. Left alone, it loosens pipe straps and eventually cracks a joint, usually inside a wall where the repair cost multiplies.
- Regrouting over a substrate problem. New grout over a moving subfloor or a delaminating tile cracks within a year. You’ve spent money and lost the evidence the warranty claim needed.
- Skipping the 30-day inspection. Most workmanship issues are easiest to prove in the first month. Waiting until 12 months means you’re arguing about what was pre-existing.
- Treating every Mesquite slab hollow as cosmetic. Small isolated hollows on a local slab are common. A large contiguous hollow is not, and it’s worth a professional opinion before you assume it’s fine.
- Letting the exterior vent go unchecked. If the bath fan dumps into the attic instead of outdoors, the moisture is going into the roof structure, not out of it. This one hides for years.
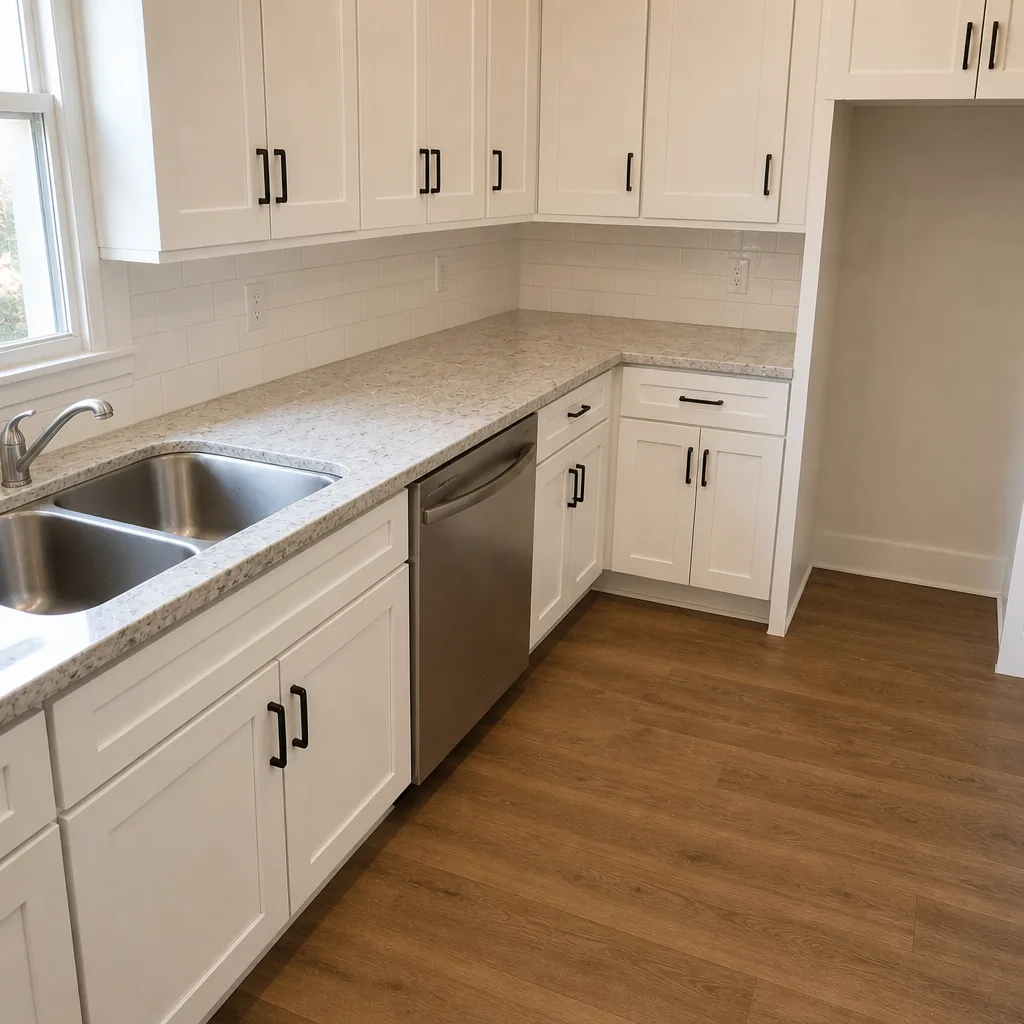
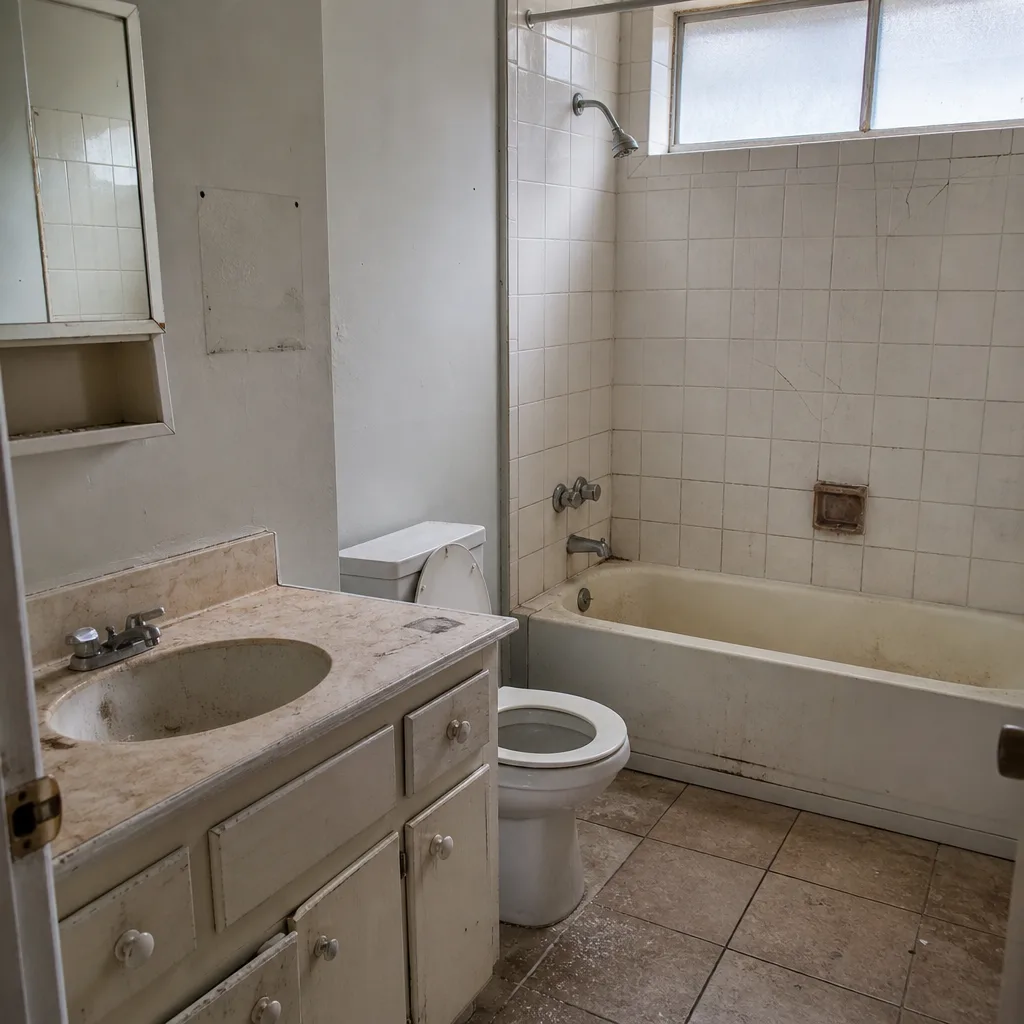
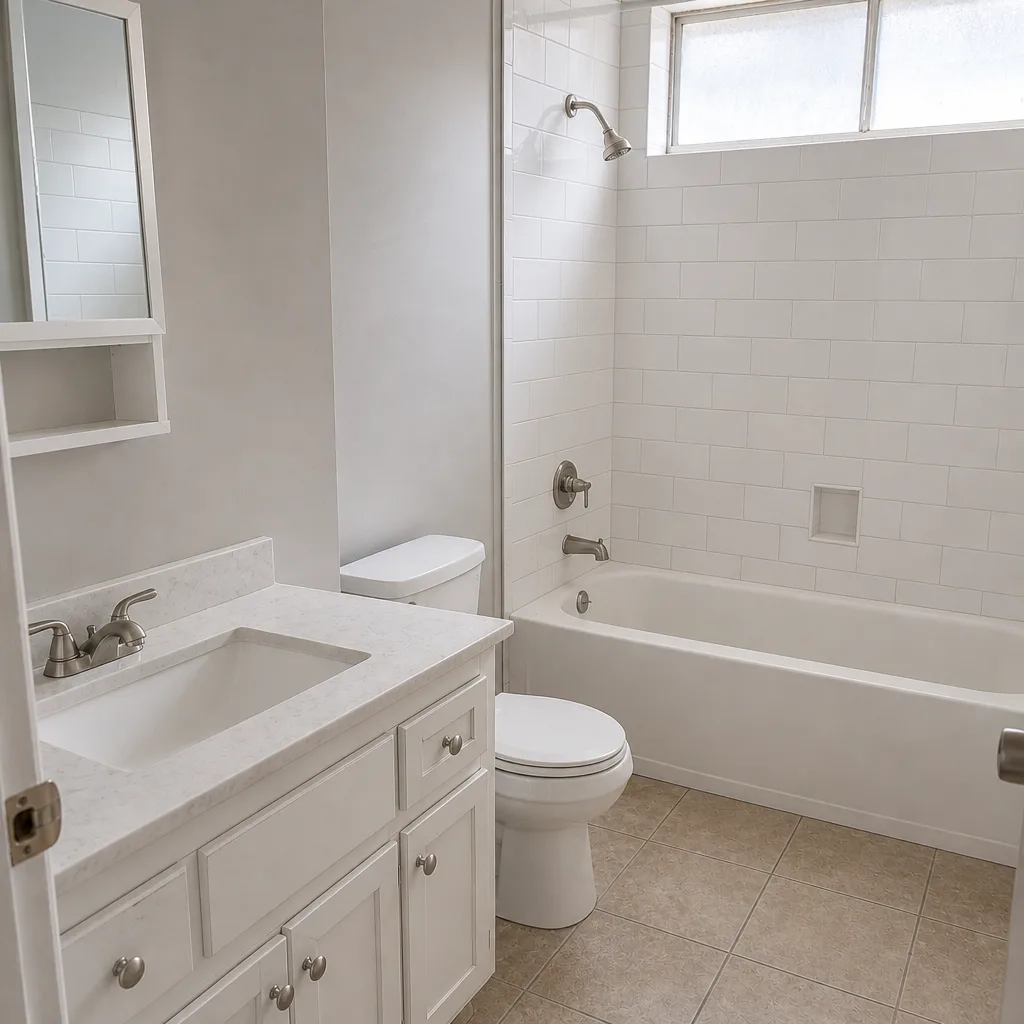
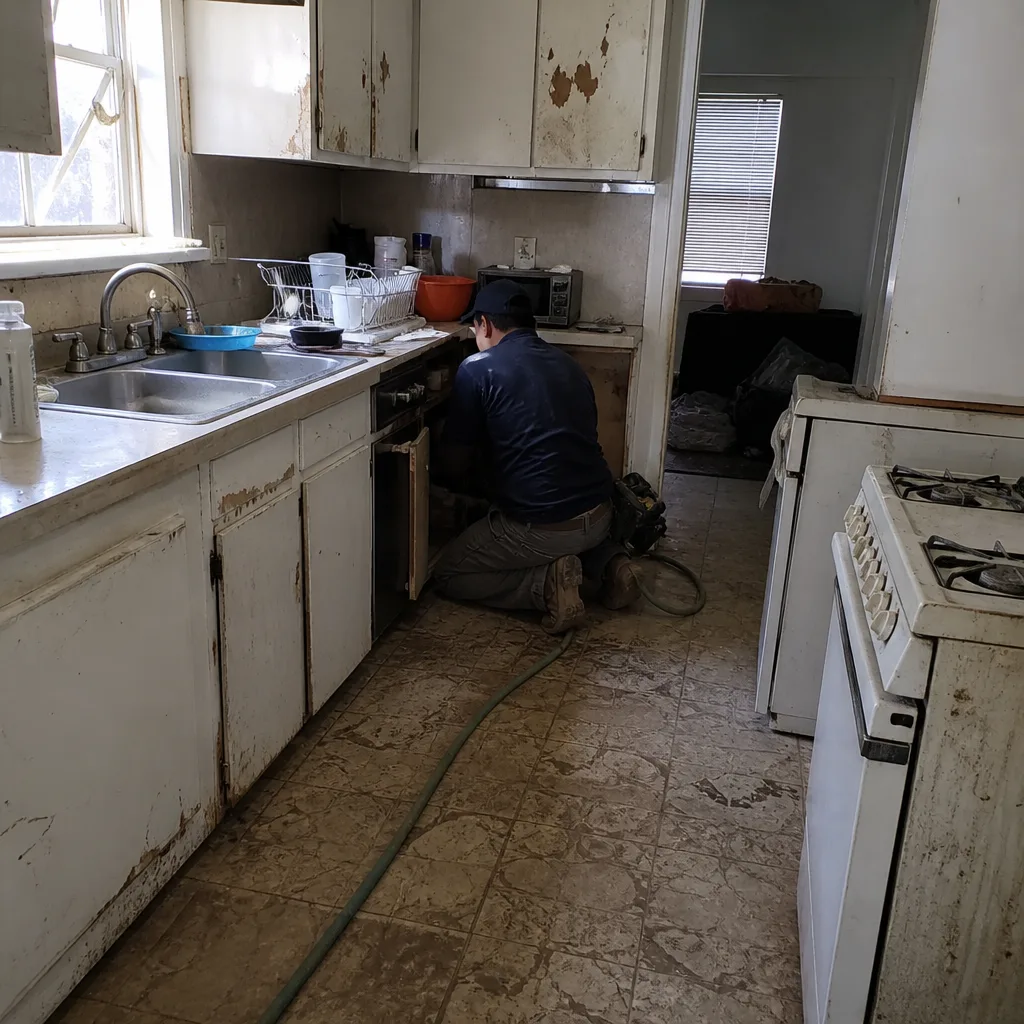
See the difference
 Before
 After
 Before
 After
 Before
 After
When to Call a Professional
Some of what this guide covers you can handle yourself: a tap test, a caulk bead, a cartridge soak, a fan grille cleaning. But call a professional when you see efflorescence returning in the same spot after cleaning, a soft spot in the floor near a toilet or shower, a ceiling stain on the floor below the bathroom, water hammer that persists after a pressure check, or two or more structural tile symptoms (hollow field, radiating cracks, movable tiles) at once. Those point to problems behind the tile, and a tear-out done wrong costs more than the original remodel. If you’re unsure, the cheapest call you’ll ever make is the one to have it looked at. Groundwork Construction Co. of Mesquite offers free estimates in Mesquite, and we answer with a live person around the clock. Call (888) 426-8078 to schedule yours, and we’ll tell you straight whether you’re looking at a caulk-and-call-it-done fix or something that needs a real repair.
Frequently Asked Questions

Look for three signs in this order: efflorescence (white chalky bloom) at the grout lines near the shower floor, grout that stays dark in one patch while the rest dries out, and paint bubbling on the wall on the back side of the shower. Two or more of those together is the strongest non-invasive signal of a membrane failure, and a moisture meter reading taken at a small access cut will confirm it. Call (888) 426-8078 for an inspection before you start cutting tile.
At least 1 CFM per square foot of bathroom floor area, plus a bump for a separate tub or a long duct run. A 50-square-foot bath needs a 50 CFM fan; a master bath with a separate tub area and a duct over 10 feet typically needs 80 to 110 CFM to actually dry the room. Mesquite’s humid summers make the sizing matter more than it would in a drier market, so it’s worth having the fan and duct checked if you’re seeing ceiling mold.
Slow drainage after a remodel usually means a drain slope that’s just under the 1/4 inch per foot standard, or debris (grout, thin-set, hair) left in the trap arm during construction. Both pass inspection because they don’t leak. The fix is usually clearing the obstruction or re-sloping a short run, not replacement, and it’s a service call rather than a teardown. Call (888) 426-8078 to have it diagnosed.
That’s water hammer, a pressure shockwave when the fill valve shuts off, and it almost always traces to a missing or failed arrestor or to incoming water pressure above 80 PSI. The valve swap didn’t cause it; the change may have exposed it. Fix with a water hammer arrestor or a pressure-reducing valve at the main. Left alone, it loosens pipe straps and can crack a joint inside the wall.
Tap the tile with a plastic mallet or screwdriver handle. Isolated hollow spots are common and usually cosmetic, especially on a Mesquite slab foundation where small local voids in the thin-set are normal. A contiguous hollow area larger than a dinner plate, or 10 percent or more of the field, means the thin-set has released from the substrate and the area needs professional inspection. Anything that moves under thumb pressure has already failed.
Waterproofing failures typically surface between 6 and 24 months, which is why a 30-day and 6-month inspection catches most of them while the workmanship warranty still applies. Ventilation problems show up faster, often within 60 to 90 days, because mold patterns form quickly in a humid Mesquite summer. Plumbing rough-in issues like water hammer and slow drains can show up immediately or take months to become obvious. Document everything, date every photo, and don’t wait for a ceiling stain to call.
The Bottom Line
Bathroom remodeling problems punish homeowners because they’re silent, and the damage grows behind the walls and under the tile where no one looks. The failures worth catching are the waterproofing membrane, the ventilation CFM, the plumbing rough-in, and the substrate under the tile. Every one of them has visible tells you can catch without a teardown: efflorescence, dark grout patches, ceiling mold, slow drains, water hammer, hollow thuds, and radiating cracks. Run the 30-day and 6-month checklists, take dated photos, and invoke your warranty window while it’s open. If you see two or more signs in the same system, call before it turns structural. That’s the whole strategy, and it’s the difference between a two-hundred dollar fix and a full tear-out.
When you’re ready for a bathroom remodel in Mesquite done right from the start, with a 730-Day Done Right Promise backed in writing and upfront pricing with no surprises, call Groundwork Construction Co. of Mesquite at (888) 426-8078 for a free estimate and design consult. We’ll walk the space, tell you what we see, and put the number in writing before any work starts.
Written by the team at Groundwork Construction Co. of Mesquite.