Last updated November 17, 2026
Free written scope consultation - allowances, timeline, and change-order rules on paper before a single trade is scheduled
DIY vs Professional Driveway & Pavers: What’s Safe to Do Yourself
Laying pavers yourself is satisfying and entirely doable – right up until the base work, which is where 90% of DIY driveway failures actually start. The homeowner who rents a plate compactor for a weekend and gets the sand and gravel looking flat usually ends up calling us two or three winters later, when the pavers have heaved and the joints won’t hold sand. This guide draws a hard line: the specific tasks in a Mesquite driveway project you can genuinely handle yourself without risking the whole investment, and the ones where DIY stops saving money and starts building liability. By the end you’ll know what to seal and reset yourself, and what has to be done to a professional base-density standard.
Quick Answer
You can safely DIY paver sealing, joint-sand top-offs, and single-paver replacement. You should not DIY the excavation, base installation, compaction, grading changes, or curb cuts – that’s where a driveway fails and where a poor base voids manufacturer warranties and creates drainage liability. The base is roughly 60-70% of a paver driveway’s lifespan, and you can’t verify it by eye. In Mesquite, most homeowners save real money by doing maintenance themselves and hiring a professional for the base, drainage, and hardscape installation.
Styles & brands we work with
- Kitchen remodeling
- Bathroom remodeling
- Home additions & ADU
- Roofing
- Windows & doors
- Driveway & pavers
- Fence
Table of Contents
- The compaction standard that separates a real installation from a DIY one
- What’s genuinely safe to do yourself
- What you should never DIY on a driveway
- The real cost of DIY vs professional in Mesquite
- Why Mesquite’s soil and heat matter more than the pavers
- How to check whether a previous DIY job was done right
- Extending an existing driveway: where DIY goes wrong
- Common mistakes to avoid
The compaction standard that separates a real installation from a DIY one
Professional paver base is compacted to a measurable density, typically 95% or higher of the material’s maximum dry density, and that number comes from a lab test (standard Proctor or modified Proctor) run on samples of the specific gravel and soil on site. A pro crew compacts the base in short lifts – usually 2 to 4 inches at a time – and each lift gets a full pass with a plate or vibratory roller before the next layer goes down. You can’t eyeball this. A surface can feel rock solid underfoot and still register well below the density that keeps a driveway from settling.
Here’s what makes the difference real in a place like Mesquite. Our clay-heavy soils swell when they get wet and shrink hard in the summer heat. A base that’s been compacted to only 80 or 85% density looks perfect in March and has visible ruts by the following spring, because every freeze-thaw cycle, heavy rain event, and summer expansion works the loose material loose. Once the base moves, the pavers above it move with it – and no amount of re-sanding fixes a base problem. We’ve walked plenty of driveways where the pavers themselves are fine, but the whole field rocks on a failed base.
The density standard also lives inside the manufacturer’s installation spec. Do it right and the warranty holds. Do it with a rented plate compactor and no measurement and you’ve technically undone your material coverage.
What’s genuinely safe to do yourself
A lot of paver driveway maintenance is real DIY work, and we encourage it. Keeping up with these tasks is how you stretch a good installation out to 20-plus years.
Sealing the pavers
Applying paver sealer every 2 to 3 years is a weekend job with a roller or sprayer. The key is getting the surface clean and fully dry first – wash it, let it dry a full day, then apply in the morning when the pavers are cool. Sealer locks in color, slows fading from the Mesquite sun, and helps keep joint sand in place.
Joint sand top-offs
Sand works its way out over time. Buy bagged polymeric or kiln-dried joint sand, sweep it into the gaps when the pavers are dry, and dampen it as the product directs. This is a 30 to 60 minute job and it protects the pavers from shifting. Do it once a year, usually early fall before the rains pick up.
Single paver replacement
One cracked or stained paver is a realistic DIY project. Pop it with two flat pry bars, keep the base underneath intact, and set a matching pavers in place with a rubber mallet. The catch is matching the material – which is where buying through a brand like Tremron or Techo-Bloc pays off, because the color and size are documented and replaceable years later. Buy a few spares when the driveway goes in and stash them; you’ll thank yourself later.
Light cleaning and weed management
Power washing (on a low setting) and pulling weeds from joints are simple maintenance. A little white vinegar in the joints discourages regrowth without harming the pavers.
What you should never DIY on a driveway
This is the part of the guide where we’re blunt, because these are the jobs that fail or create liability that follows the property.
- Excavation and grading. Getting the slope right is what routes water away from your foundation, your garage, and your neighbor’s property. Get the grade wrong and you’re not looking at a cosmetic issue – you’re looking at water in a slab.
- Base installation and compaction. Without a measured density, you can’t know if the base will hold. This is the single biggest reason DIY pavers fail.
- Curb cuts and driveway aprons. Changes near the street usually require a permit with the city, and cutting into a curb without one is a code issue and a common source of property line disputes.
- Grading changes that affect drainage. Any change that redirects water off your lot can create liability for downstream neighbors. This is not a job for a rented skid steer and a Saturday.
- Edge restraint installation. The hidden aluminum or plastic edging that keeps the field from spreading under load. DIY edge restraint usually gets backfilled too shallow.
One more: any base or grading work performed without the right permit can affect your material warranty, your homeowner’s insurance, and in some cases your ability to sell the home without a disclosure. Manufacturers like Unilock and Cambridge Pavers write their coverage around installation specifications; skip the spec and the material isn’t the thing you have to worry about – it’s the work underneath it.
The real cost of DIY vs professional in Mesquite
The DIY math looks simpler than it is. It’s not just materials and labor – it’s equipment rental, delivery fees, disposal, the cost of a mistake, and your own weekends. Here’s an honest line-item look for a typical 2-car driveway in Mesquite (roughly 400-600 square feet).
| Line item | DIY (400 sq ft) | Professional |
|---|---|---|
| Pavers (Tremron, Techo-Bloc, Cambridge) | $1,200 – $2,000 | Included |
| Base gravel + delivery | $350 – $600 | Included |
| Joint sand + edge restraint | $150 – $300 | Included |
| Equipment rental (plate compactor, skid, demo) | $250 – $500 | Included |
| Disposal of excavated material | $100 – $250 | Included |
| Labor (your own weekends) | Typically 4-6 full days | Included |
| Installed price with base, permits, warranty | N/A | $9,000 – $16,000 |
Add up the DIY column on a real project and you land in the $2,000 to $3,600 material and rental range, plus 4 to 6 weekends of labor. Then ask what it costs to redo the base if it fails – usually the entire installation cost again. That math is why the base-standard conversation matters more than the paver material conversation. It’s also why professional driveway pricing in Mesquite tends to break down roughly as: 30% material, 50% base and labor, 20% drainage, permits, warranty.
The Mesquite market tends to run professional paver driveways in the $14 to $28 per square foot range depending on the material and how much base work is involved. That’s a wide range because the base work is what moves the number – not the pavers. For more on the local numbers, see Driveway & Pavers in Mesquite.
Why Mesquite’s soil and heat matter more than the pavers
Mesquite sits on heavy clay soil through much of the city – the same Blackland Prairie clay that runs across this part of North Texas. That clay expands when it absorbs water and shrinks dramatically when it dries. A driveway base is only as good as its handling of that movement, which is why the base layer, drainage, and compaction standard matter so much more here than they do on sandy soil. Pavers that are gorgeous on paper will crack and heave on a poorly prepped base in our soil.
The heat side is real too. Pavers absorb and radiate sun here, and sealer wears faster in direct summer sun. That’s why we recommend re-sealing on a 2-year cadence rather than 3, and why a light-reflective or lighter-colored paver is worth considering on a full-sun driveway. In neighborhoods around Mesquite – from the older driveways near downtown to newer builds in the surrounding subdivisions – the most common paver failure we see is base preparation, not material quality.
The other local factor is rain. North Texas gets long dry spells followed by heavy downpours, and the runoff pattern matters. A driveway that grades drain to the street without a proper edge restraint and sand joint will churn up in the first big storm.
How to check whether a previous DIY job was done right
Whether you’re buying a home with a paver driveway or inheriting one from a prior owner, there are a handful of things worth walking on before you assume the installation is solid.
- Walk the field slowly and listen. Any paver that rocks or shifts underfoot is a base or bedding issue, not a glue issue.
- Look for ruts or dips along the mid-line and edges. Ruts usually trace back to a failed base or unmet compaction.
- Check the edges. There should be a visible edge restraint holding the field in. If the outside row spreads toward the yard when the car drives over it, it wasn’t restrained.
- Run a hose. Water should move off the driveway. If it pools or runs toward the house, the grade is wrong.
- Look at the joints. Joints should be full of sand and even. If they’re wide and hollow, the driveway hasn’t been maintained.
- Check for permits on the sale disclosure. If the driveway touched a curb cut or grading, ask.
If more than two of those flags show up, get a professional evaluation before buying the house or adding to the driveway. A paver driveway passes visual inspection 90% of the time whether the base is good or not. It’s the walking and the listening that tells the real story.
Extending an existing driveway: where DIY goes wrong
Extending an existing paver driveway – widening it, running it to a detached garage, adding a paver side pad – is the most common “small” project that turns into a full replacement. The reason is that a paver field needs a continuous base. Most DIY extensions just lay new pavers over fresh gravel next to the old installation, without tying the base together. Within a couple of seasons the joint between old and new opens up, and water starts getting under both fields.
If you’re extending, the honest answer is that this is a half-DIY job at best. The base has to be carried through from the old field into the new one with matched compaction and a continuous edge restraint along the new perimeter. Matching material is a separate headache – a brand like Techo-Bloc or Unilock gives you a paper trail for the exact product, which is exactly why we steer customers to those lines when there’s a chance of future additive work.
If you’re widening a driveway or adding a side pad as part of a larger home improvement project, bring in the pros. The Home Additions & ADU in Mesquite page covers how a driveway and hardscape work should tie into a bigger site plan.
Common mistakes to avoid
Here are the ones we see most often in Mesquite, and every one of them costs more to fix than to do right the first time.
- Skipping the compaction test. “It feels solid” is how DIY driveways end up with ruts in year two. Compaction is a number, not a feeling.
- Cutting the base short to save material cost. A 4-inch base when 6 inches is specified saves $150 in gravel and costs the driveway. Cheapest line item on the project.
- Grading drainage toward the garage or house. The slope always has to route water away. If it looks flat, it’s wrong.
- Not restraining the edges. Pavers creep under repeated vehicle load. The edge is what stops the creep.
- Mismatched paver material on a repair. Buying cheap off-brand pavers for a one-off replacement means you can’t match the color or size next time you need to.
- Skipping the permit for a curb cut or grading change. That’s a code issue, a resale issue, and an insurance conversation you don’t want.
- Sealing too fast. Sealer applied over a damp, dusty, or hot surface traps moisture and clouds. Two full dry days and cool pavers are non-negotiable.
If your driveway is being installed alongside a fence, Fence Installation in Mesquite covers the site-work sequencing – the driveway, fence, and drainage all want to be coordinated on the same plan.
See the difference
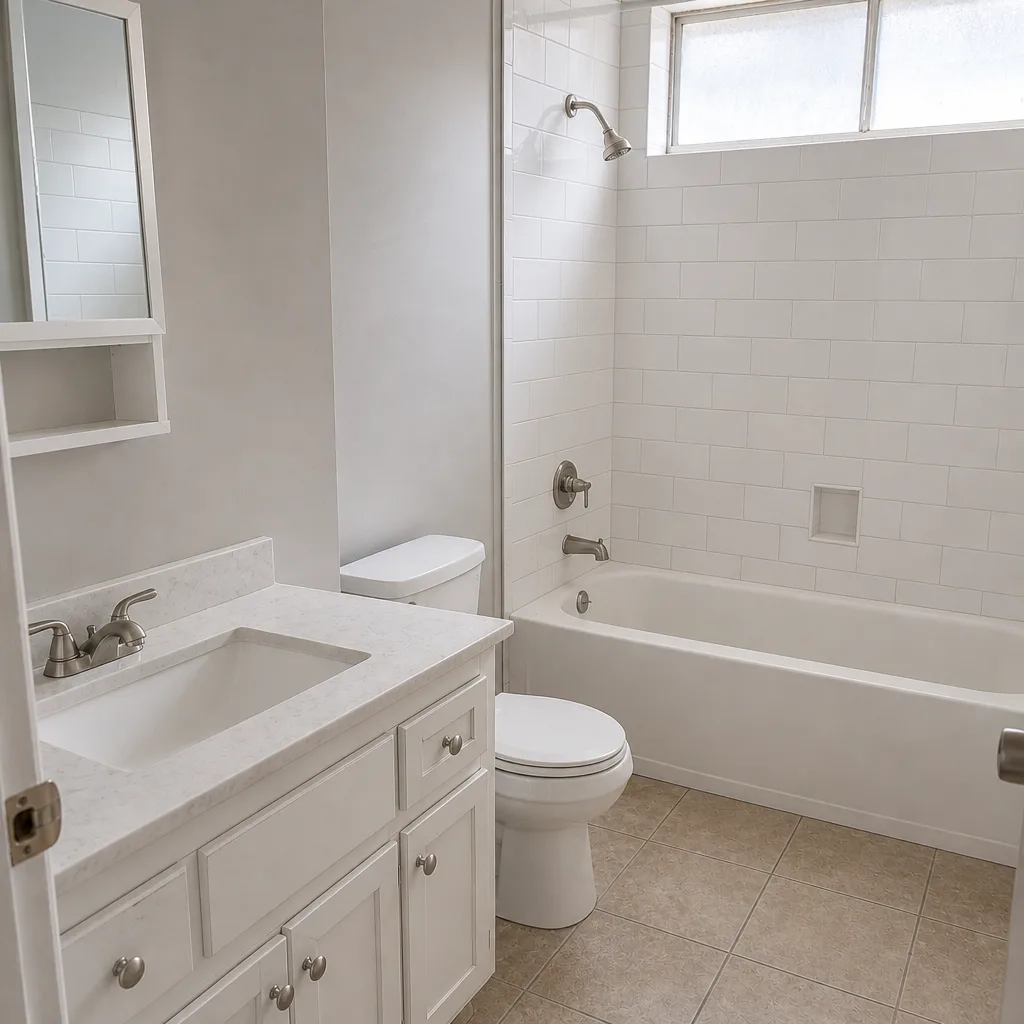
 Before
 After
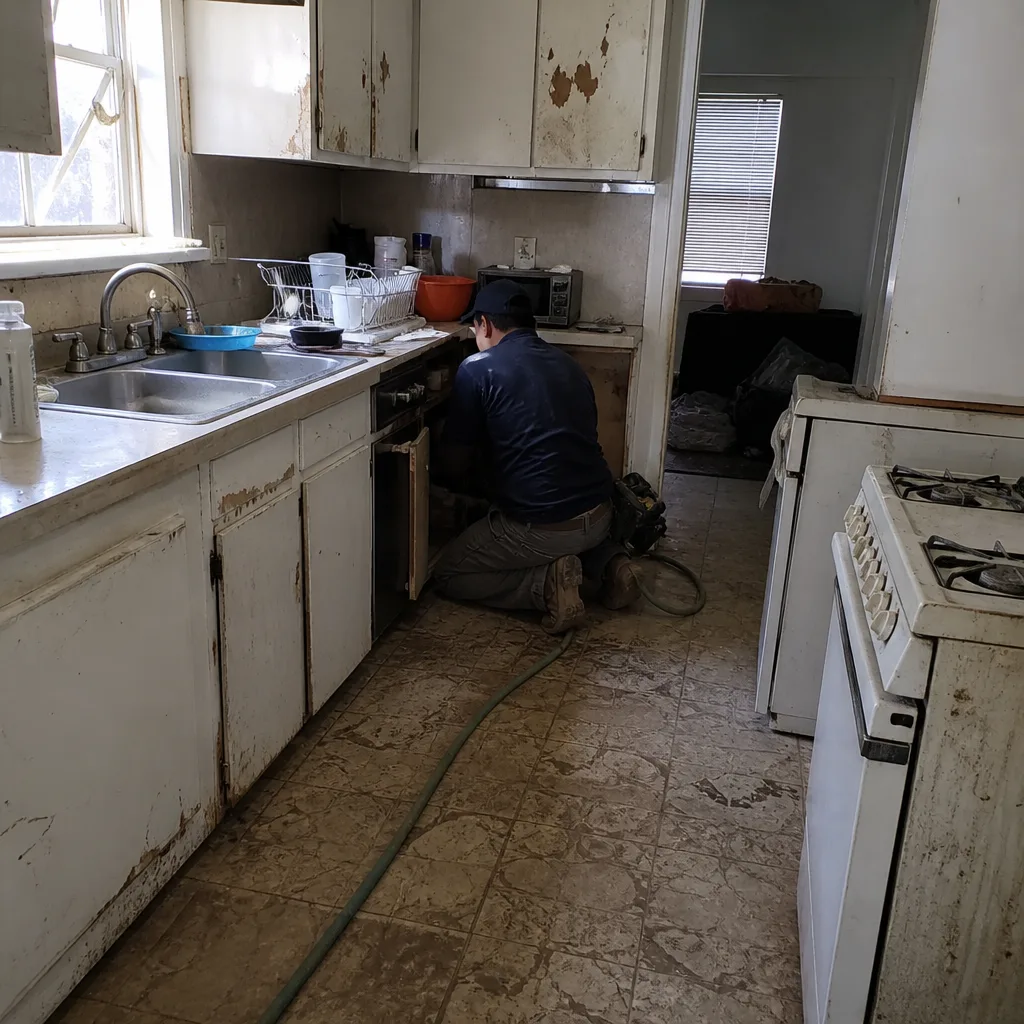
 Before
 After
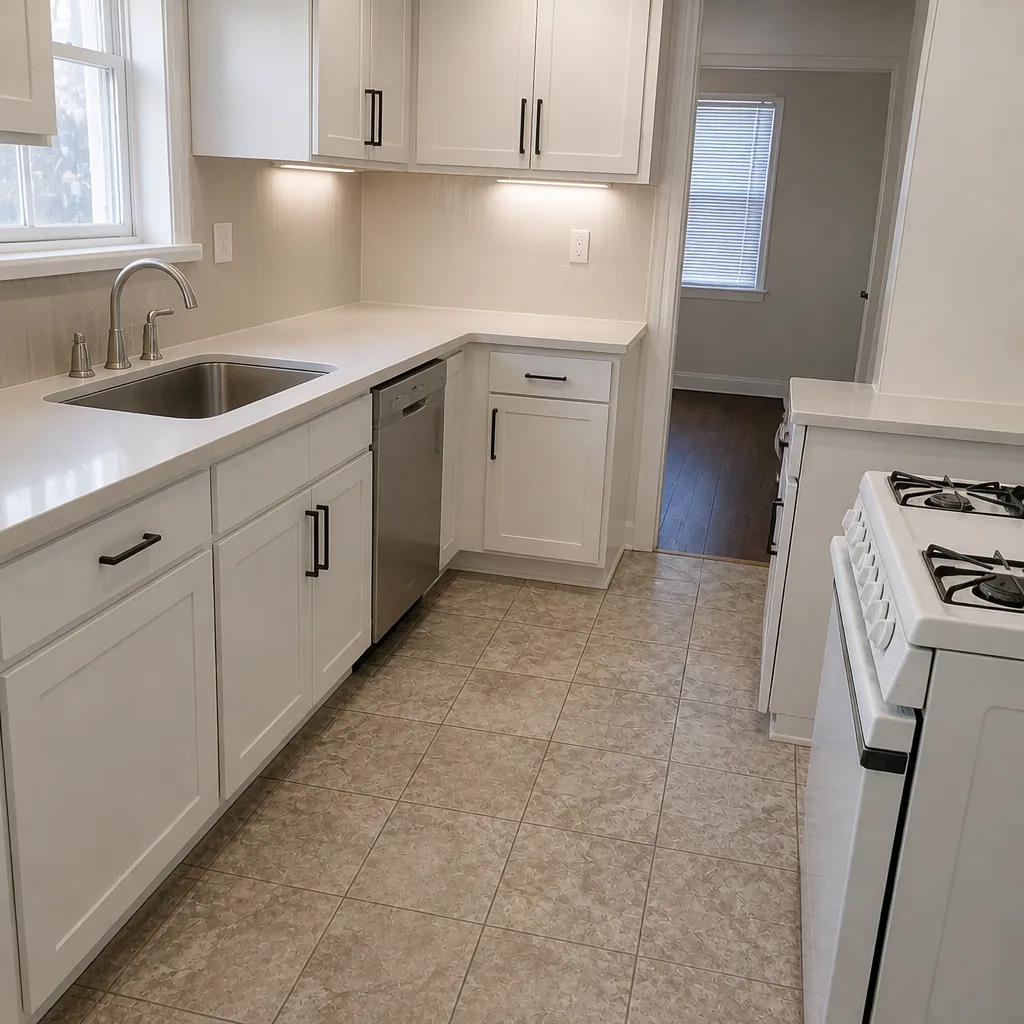
 Before
 After
When to Call a Professional
Call a professional the moment your project touches the base, the grade, a curb, or drainage. That covers full driveway installation and replacement, widening, extension, re-grading, curbs, edge restraint, and any driveway that’s failing structurally. If the pavers rock, ruts have formed, or water runs toward the house, you’re past the DIY fix. The base compaction standard is not something you can eyeball, and a base that fails takes the whole driveway with it. A trained installer can pull permits, run the compaction density test, pull the right material from a verified line, and back the work in writing. Groundwork Construction Co. of Mesquite offers free estimates in Mesquite – call (888) 426-8078. Our technicians have up to 12 years of experience, every job is background-checked and uniformed, and every project is covered by the 730-Day Done Right Promise.
Frequently Asked Questions
In most cases, yes – any driveway work that touches the curb, the apron at the street, or grading that affects drainage generally requires a permit from the city. Minor surface replacement of pavers on an existing, correct base usually doesn’t. The surest way to stay legal is to have the installer pull the permit as part of the job, which a professional will do as standard. If you’re uncertain, call (888) 426-8078 and we’ll walk you through what applies to your address.
On materials alone, a 400-square-foot DIY driveway is roughly $2,000 to $3,600 in materials and equipment rentals. A professional installed price in Mesquite for the same driveway runs about $9,000 to $16,000 – but that includes the base work, compaction testing, permits, edge restraint, warranty, and disposal. Once you factor in the failure risk, professional installed usually pencils out cheaper over a 10-15 year horizon. Call (888) 426-8078 for a free estimate on your specific driveway.
A driveway installed to proper base density with correct drainage and edge restraint typically holds 20 to 25 years in Mesquite’s climate. The pavers themselves often outlast the base if the base is wrong – which is why the base standard matters more than the paver brand. Maintenance (sealing, joint sand) extends the life. Call us for a free evaluation if you’re buying a home with an existing paver driveway.
You can, but most DIY extensions fail within a few seasons because the new base isn’t tied into the old base with matched compaction. That joint goes first, then water gets in. If you want the extension to hold, bringing in a professional for the base and tying it to the existing field is the right call. Call (888) 426-8078 to schedule a free estimate.
Possibly, yes. Paver manufacturers like Unilock, Tremron, and Cambridge Pavers write their coverage around installation specs, including base thickness, compaction, and drainage. If those specs aren’t met, the material warranty can be denied. Doing the base work to a certified installer’s standard keeps the material warranty intact. Call (888) 426-8078 and we’ll explain exactly what coverage applies to the material you choose.
The 730-Day Done Right Promise is our written workmanship commitment: if something we installed isn’t done right within 730 days, we make it right – one of the longest workmanship guarantees in the residential construction space. It covers the base, the installation, and the finish. To see what that looks like on your driveway, request a free estimate at (888) 426-8078. Learn more at our Groundwork Construction Co. of Mesquite home page.
The Bottom Line
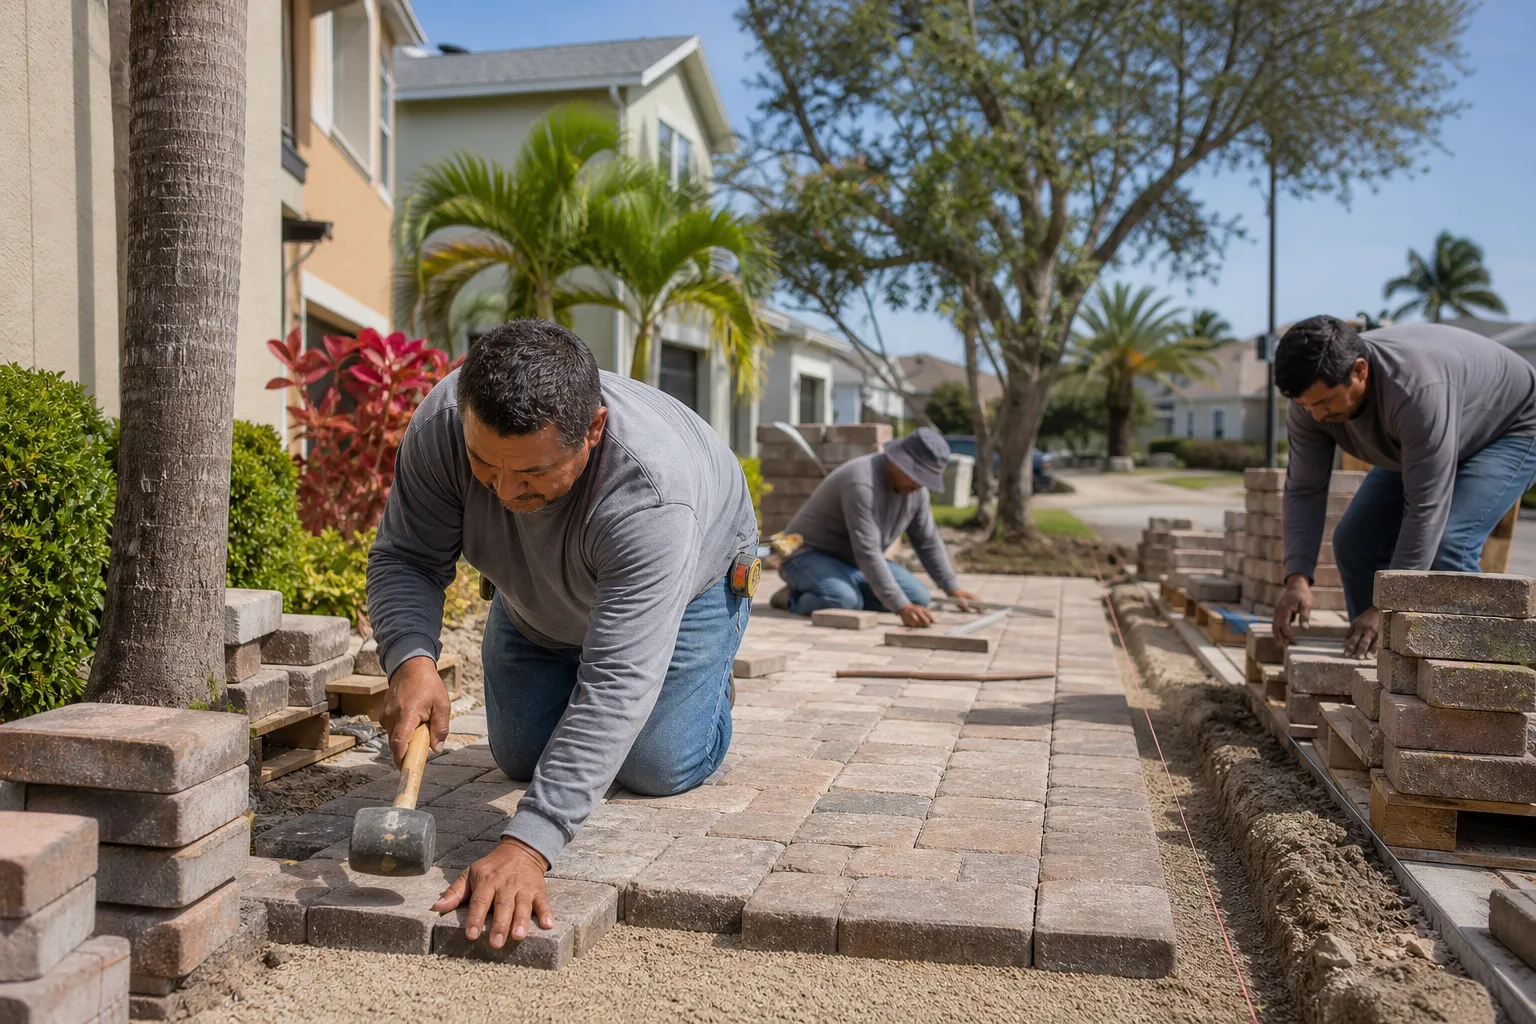
Here’s the whole guide in one paragraph. Sealing, joint sand, cleaning, and single-paver replacement are safe DIY projects that genuinely extend the life of a paver driveway. Excavation, base installation, compaction, grading, curb cuts, and edge restraint are not – the base has to hit a measured compaction density you can’t eyeball, and it decides whether your driveway lasts 5 years or 25. DIY material costs in Mesquite sit around $2,000 to $3,600 for a typical driveway, and a professional installed price runs $9,000 to $16,000 including the base, permits, warranty, and drainage. You’ll save real money doing the maintenance, and you’ll save the whole driveway by hiring out the base. If you’re planning a Mesquite driveway, you can also talk stone with the brand partners we carry – Unilock, Tremron, Techo-Bloc, and Cambridge Pavers – all backed by a 730-Day Done Right Promise and upfront pricing with no change orders. Call (888) 426-8078 to schedule your free estimate.
Written by the team at Groundwork Construction Co. of Mesquite.