Last updated November 17, 2026






Free written scope consultation - allowances, timeline, and change-order rules on paper before a single trade is scheduled
Driveway & Pavers Troubleshooting: Common Problems and How to Fix Them
If you’ve patched the same driveway crack three times and it keeps coming back, you haven’t fixed the problem – you’ve been decorating over it. The crack is a receipt. The purchase happened months earlier, down in the base, where a little water and a little movement quietly did their work. Here’s the part most homeowners never hear: the visible damage is the last thing to fail, not the first. In this guide, we’ll show you how to read what your driveway is actually telling you, tell a surface crack from a base failure using a hose and a straight edge, match the pattern of movement to its cause, and know which fixes are genuinely DIY and which get more expensive every month you wait. We do this work across Mesquite, and the ground here writes its own rules.
Quick Answer
Most driveway problems that return after patching are base failures, not surface wear. A crack that comes back, a dip that holds water, or a paver that heaves with the seasons usually means the sub-base moved because of water, clay soil, roots, or poor compaction underneath it. Fix the base and the surface stays fixed; seal over it and the problem comes back within a year. A garden hose, a straight edge, and 20 minutes will tell you which one you’re dealing with.
Styles & brands we work with
- Kitchen remodeling
- Bathroom remodeling
- Home additions & ADU
- Roofing
- Windows & doors
- Driveway & pavers
- Fence
Table of Contents
- How Do You Diagnose a Driveway Problem Without Digging?
- Surface Crack or Base Failure? The Hose and Straight-Edge Test
- Reading the Pattern: Clay, Roots, or Drainage?
- Paver-Specific Problems: Heaving, Sinking, and Shifting
- What’s Safe to Fix Yourself and What Isn’t
- How to Photograph Damage So a Dispute Goes Your Way
- What a Proper Repair Bid Includes – and the Red Flags
- Keeping a Driveway Healthy in Mesquite’s Climate
How Do You Diagnose a Driveway Problem Without Digging?
You diagnose by watching how water behaves on the surface and where the finished plane breaks its own line. Water is honest. It goes where gravity and the soil tell it to go, so wherever water pools, runs, or disappears, it’s pointing at the weak spot underneath.
Here’s the process we walk homeowners through when they call us about a driveway in Mesquite:
- Pour a bucket of water across the problem area. Watch where it travels. If it sits in a depression and drains slowly, you have low spot. If it runs toward the house or a fence line instead of the street, you have a grading problem.
- Find the low spots and the high spots. Lay a long straight edge or a 6-foot level across the surface. A dip you can see with the straight edge resting on it is usually at least a quarter-inch deep, and that’s enough to trap water through every rain.
- Check the edges. Look where the driveway meets soil, grass, or the garage slab. Gaps there mean the soil underneath is settling or washing out.
- Walk the surface barefoot or in thin-soled shoes. A slight rock or bounce underfoot signals voids under the slab or loose pavers under sand.
- Note the season. If the damage appeared or worsened after our wet spring and summer storms, water is likely the cause. If it showed up after a dry stretch, it may be soil shrinkage or root activity.
What you’re doing is narrowing the cause before anyone quotes a repair. A driveway problem in Mesquite’s older neighborhoods, like the ones off Belt Line or in the established blocks near downtown, often involves decades-old base material that was never compacted to modern standards. In newer subdivisions out toward the eastern edge, the culprit is usually water running off fresh construction-grade grading that’s still settling. Same symptom, different fix. That distinction matters because it changes the cost and the schedule, and our Driveway & Pavers in Mesquite page lays out how we approach each.
Surface Crack or Base Failure? The Hose and Straight-Edge Test
A surface crack is a crack in the top layer only. A base failure is movement underneath that has already broken the surface. Here’s how to tell the difference without cutting or digging.
Step 1: The hose test. Run a hose into the crack or along the seam for two to three minutes. Watch two things: how fast the water disappears and where it goes. If water drains into the crack quickly and doesn’t reappear nearby, the crack is open to the base below. That’s a strong sign of a base problem. If water pools on the surface near the crack and stays, the crack is surface-level and the slab underneath is fairly sound.
Step 2: The straight-edge test. Lay a straight edge – a 6-foot level, a metal yardstick, a board with a known straight face – across the crack at a right angle. Look for daylight under the edge on either side. Daylight means that section of the surface has tilted or dropped relative to its neighbor. A crack with a tilted edge is a base failure. A crack with edges that meet cleanly and evenly is usually surface wear or a control joint doing its job.
Step 3: The wedge check. Slide a putty knife or a thin wedge down the crack as far as it will go. If it slides in an inch or more, the crack is deep and likely tied to movement below. If it stops almost immediately, the crack is shallow.
Here’s the rule we give our Mesquite homeowners: a crack that comes back after one patch is a finish problem you can live with. A crack that comes back after two patches, or that widens, or that shifts vertically, is a base problem that needs to be addressed from below before anything on top will hold.
Reading the Pattern: Clay, Roots, or Drainage?
The pattern of heaving and sinking is the diagnosis. Three causes produce three distinct signatures, and once you know them, you can tell what’s happening before a crew shows up.
- Clay soil movement. Mesquite’s blackland and clay-heavy soil expands when wet and shrinks when dry. It doesn’t move evenly. It moves in patches. The surface heaves along edges, sinks in the middle, and produces repeat cracks in the same spot year after year. The damage appears after wet springs and worsens through dry summers. If your driveway’s dips line up with the seasons, clay is your likely culprit.
- Tree root intrusion. Roots don’t push up through a driveway – they grow underneath and lift the section above them, or they dry out the soil on one side and cause sinking on the other. The signature is a localized hump or a single lifted section, often within 8 to 15 feet of a large tree, with a triangular crack pattern that points toward the trunk. Mesquite’s mature live oaks and pecans are the usual suspects.
- Drainage failure. Water leaving the driveway and getting trapped underneath, or water running toward the house and pooling at the joint, produces an even, long, straight crack parallel to the slope, or a sunken area that holds water in a low spot. If the bottom of your driveway near the street has a permanent puddle after every rain, you’re looking at a drainage failure. Same for a joint along the garage apron that keeps separating.
In our experience across Mesquite, most paver issues are a combination: a clay sub-base that’s moving seasonally, plus a drainage problem on the uphill side that feeds it. Fix one and the other gets worse. That’s why the diagnosis has to happen before the repair, and why we recommend addressing both in the same scope of work.
Paver-Specific Problems: Heaving, Sinking, and Shifting
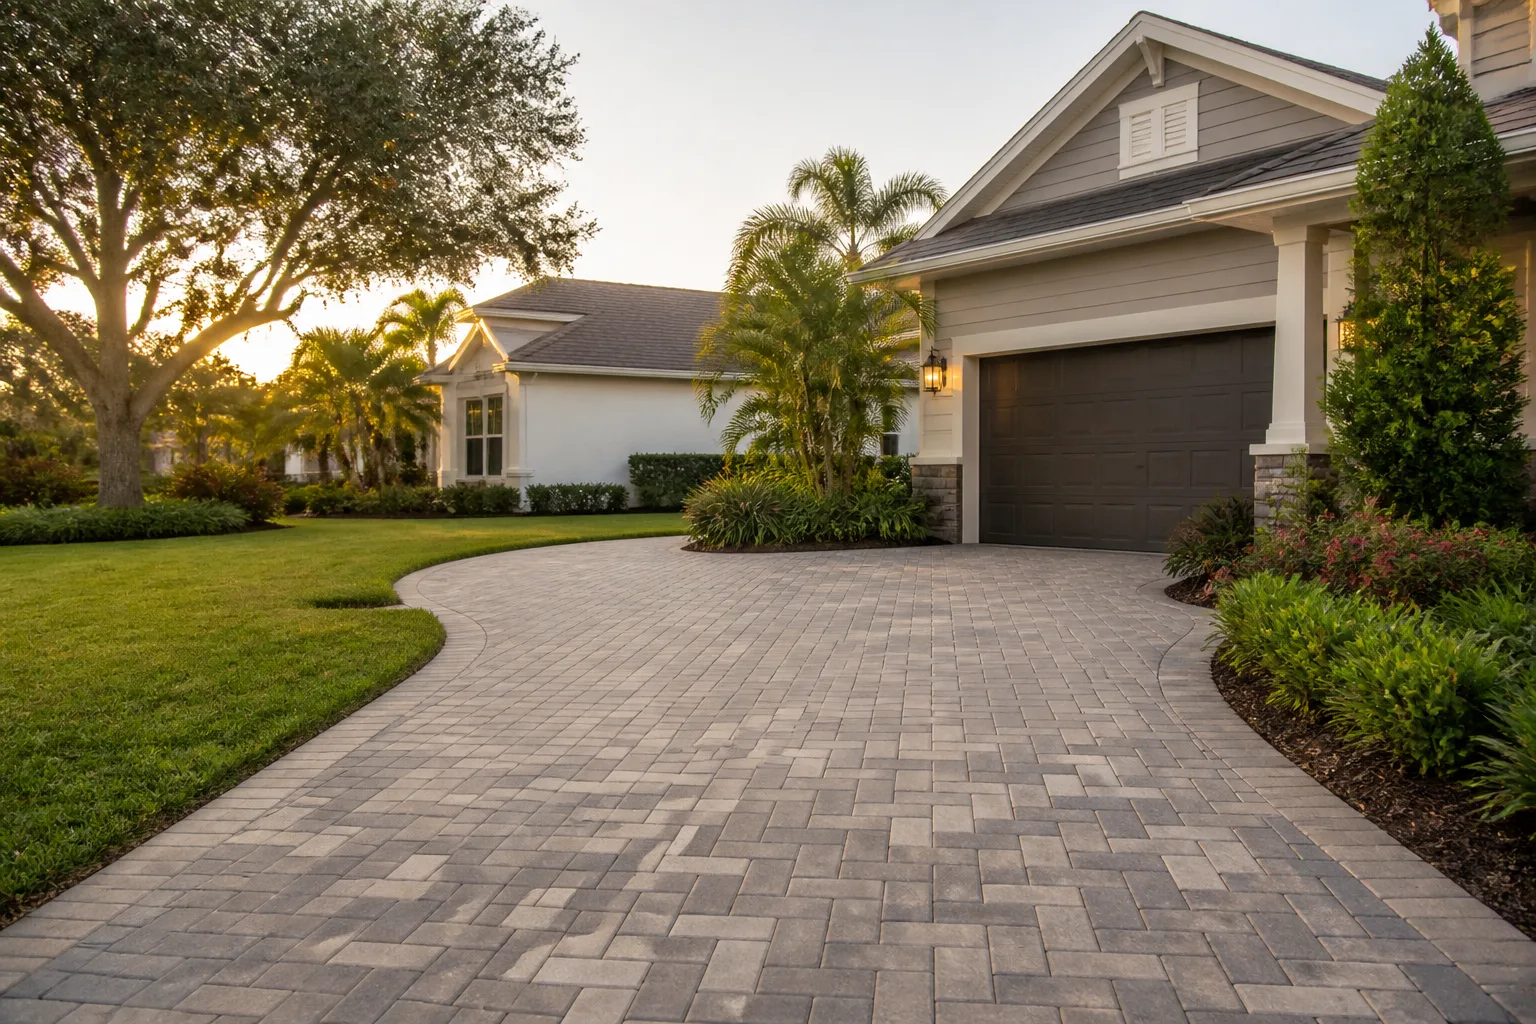
Pavers fail differently from concrete. A concrete crack is a single line; a paver surface fails as a pattern. Read the pattern and you’ll know the cause.
Heaving. A paver that sits proud of its neighbors usually means something underneath is expanding – ice, root, or clay. In Mesquite, we see heaving most often in late winter and early spring after a wet spell. A single heaving paver near a tree is a root. A line of heaving pavers along the sunniest edge is usually clay movement or moisture at the edge.
Sinking. A paver that’s dipped below its neighbors is usually an isolated void or the start of a washout. If one or two pavers sink, the joint sand has migrated and the base under that spot has loosened. If a whole field of pavers is sinking, the base was too thin or too wet when it was installed, or water is running under the edge and carrying material away.
Shifting or spreading. When pavers open gaps at the perimeter or move away from the edging, the edge restraint has failed. A paver job is only as strong as its edge. If the edge is sitting on dirt rather than a concrete curb or a properly bedded restraint, the whole field will move toward open space over time.
One detail that doesn’t get enough attention: joint sand. In Mesquite’s dry summer stretches, sand washes and blows out of paver joints faster than in cooler climates. When the joints are open, water goes straight to the base and the pattern starts. Refilling joint sand before the rainy season is one of the cheapest things you can do for a paver driveway, and it’s a 30-minute job.
If the paver pattern is lifting along the garage apron, or if you see a dark line of sand washing out at the street edge, call for a look. That’s a sign the base is failing and the driveway is being undermined from below. Our guide to Groundwork Construction Co. of Mesquite home covers the full scope of exterior and interior work we handle when the repair is bigger than a spot.
What’s Safe to Fix Yourself and What Isn’t
Not every problem is a contractor problem. Some fixes are genuinely reversible for a homeowner with a weekend and a willingness to learn. Others get more expensive every month you wait.
Genuinely DIY-reversible:
- Refilling joint sand on pavers. Buy polymeric sand, sweep it into the joints, tamp it lightly, and mist it according to the bag directions. Do this before the wet season.
- Sealing concrete that’s in good structural shape. A breathable concrete sealer applied to clean, dry, sound concrete every two to three years slows surface wear and keeps small cracks from opening. It does not fix a base failure, but it protects a sound surface.
- Clearing drainage paths. If water is pooling near the garage or front of the driveway because soil or mulch is blocking the flow, regrade the soil to encourage water away from the slab. Keep it a few inches from the slab so water can’t stand against it.
- Spot re-bedding a single paver. One lifted paver can be pulled, the base inspected, and the paver re-set with fresh bedding sand. One, not twelve. Get to seven and it’s a job for a crew.
Not DIY – and more expensive with time:
- Any base failure. The actual repair is below the surface. You can’t fix a failing base from above, and any repair that doesn’t address it will fail again.
- Widespread paver lifting or edge failure. That’s a re-lay with new edging and a renewed base, not a spot repair.
- Drainage problems that route water toward a foundation or garage. This is a grading, drainage, and structural problem all at once, and doing it wrong can cause water damage under the house.
- Any crack wider than a pencil, or any vertical fault line. That’s a sign the driveway is moving, and it doesn’t stop on its own.
Here’s the rule of thumb: if your fix involves a layer below the top, or requires water to behave differently than it’s behaving now, that’s a professional call. Most jobs in Mesquite are completed in a single visit once the scope is set, so there’s no reason to wait and let the problem grow.
How to Photograph Damage So a Dispute Goes Your Way
If you’re ever in a dispute with a contractor over a driveway repair, the photos you took before the work started are the most valuable thing you own. The equipment is your phone, a tape measure, and a way to show scale and light.
- Take one wide shot that shows the whole driveway in context. Get the house, the street, and the driveway in one frame. Note the date and time – your phone does this automatically, but keep the original file.
- Take a medium shot of the specific problem area. Include a known object in the frame for scale: a shoe, a garden hose nozzle, a dollar bill, a tape measure laid across the crack.
- Take a close-up of the damage itself. Fill the frame with the crack, heave, or dip. If there’s daylight under the surface, get a shot of the daylight.
- Photograph a depth reference. Slip a ruler or a putty knife into the crack and photograph the depth. A photo of a push-pin in a crack is more useful than fifty photos of the crack alone.
- Take a straight-edge or level photo. Rest the level on the surface and photograph the gap under it. That’s the closest a photo gets to proving a plane is broken.
- Capture the season and the weather. Photograph the surface just after a rain and again in dry weather. The change is the evidence of water-driven movement.
- Photograph the whole repair after it’s done. Same angles, same framing, same scale objects. Keep the originals; don’t crop or edit.
- Back the photos up somewhere off the phone. Upload to a cloud folder with the date in the folder name.
A clear before-and-after photo set, with a documented date and scale, settles most disputes before they start. It also tells an honest contractor that you’re serious about documentation, which tends to get you a better-written bid. If the work is done under the 730-Day Done Right Promise, the before photos file alongside the warranty record.
What a Proper Repair Bid Includes – and the Red Flags
A proper driveway repair bid describes how the base is being fixed, in writing, with measurable scope. Anything that only describes what the finish will look like is a band-aid with a price tag.
What a good bid includes:
- Scope of the base work. Depth of excavation, what base material will be used, compaction method, and whether the crew is replacing or reusing sub-base.
- Drainage changes. Whether regrading is included, where the water will run after the repair, and how slope will be verified.
- Edging and joint sand. Brand and type for pavers, type of edge restraint for paver jobs, and what joint sand is specified.
- A line-item scope with quantities. Square footage of removal, depth of base, volume of material. Concrete in cubic yards, pavers in square feet, not “as needed.”
- Permits, if applicable. If the work touches a public right-of-way or requires a permit, say who pulls it. In Mesquite, driveway approaches and curb work at the street sometimes require permits; the bid should be clear on whose responsibility that is.
- Timeline and completion terms. When the crew starts, when the job is expected to complete, and what happens if the weather pushes it.
- The warranty in writing. The term, what’s covered, and how to file a claim. Our 730-Day Done Right Promise is written, not implied.
- Payment schedule. A reasonable deposit, progress payments tied to milestones, and no large final payment before the final walkthrough.
Red flags:
- A bid that only describes the finish, never the base.
- “We’ll level it and seal it” with no mention of what’s under the surface.
- A price given verbally with no written scope, or a bid that changes materially when you ask what’s under the damage.
- No mention of drainage, slope, or water management anywhere in the document.
- A warranty given verbally with no written terms – or “lifetime” with no clarity on what lifetime means.
- A pressure to sign today for a cash discount that disappears tomorrow. That’s a sales tactic, not a pricing policy.
Upfront pricing without surprises is the standard we hold to. When we quote a driveway repair in Mesquite, the scope, the base work, and the warranty are all in the document before anyone signs, and the price you see is the price you pay. That’s the whole point of doing it in writing. Learn more about our full-scope approach on our Fence Installation in Mesquite page and Home Additions & ADU in Mesquite page, where the same measured scoping method applies.
Keeping a Driveway Healthy in Mesquite’s Climate
Mesquite is rough on driveways. The clay-heavy soil expands when wet and shrinks when dry, which means most driveways here move a little every year. That’s normal. What’s not normal is letting that movement compound unevaluated for a decade.
A few habits keep a driveway ahead of the curve:
- Walk it every spring and fall. Same time each year, get on your knees and look at the edges, the joints, and the slope. Take a new set of photos each time.
- Refill paver joint sand before the rainy season. In Mesquite, that’s late spring before the summer storms and again in early fall.
- Keep soil graded a few inches away from the slab. Mulch doesn’t count. Soil should slope away from the slab, garage, and house, not toward them.
- Don’t park heavy vehicles on the driveway apron in hot weather. Concrete, especially new concrete, is vulnerable to tire marks and edge damage in high heat. If you have to park a heavy truck, do it on the street.
- Don’t plant trees within 8 to 10 feet of a driveway. If a mature tree is already close, plan for root intrusion rather than waiting for it.
- Seal concrete every 2 to 3 years, not every year. Over-sealing traps moisture and makes cracking worse.
What we see most: a homeowner seals a driveway that has an active base failure, then can’t tell what’s happening underneath because the sealer hides it. Seal a sound surface. Diagnose a moving one first.
Common Mistakes to Avoid
- Patching a crack before you know what’s underneath. A patch is a band-aid; if the base is moving, the patch will too. Diagnose before you patch, or you’re flipping the same dollar twice.
- Assuming Texas clay behaves like concrete. Mesquite’s blackland clay expands in wet weather and shrinks in dry, and driveways that fight that movement lose. Plan for movement, don’t pretend it won’t happen.
- Sealing over sand joints instead of refilling them. Sealer on top of open paver joints doesn’t stop water from reaching the base, it just delays the answer. Refill the joints first, then seal if the surface needs it.
- Ignoring a single lifted paver near a tree. One lifted paver near a live oak is a root on the move. It’s not a paver problem – it’s a root problem that has already won the first round, and it will take more of the field with it if you don’t address the root.
- Pushing a paver back down without inspecting the base. Putting weight on a lifted or sunken paver cracks the paver. Pull it, inspect, and re-set properly, or the repair fails again in one season.
- Letting water sit against the garage apron. A low spot at the garage apron is the most common single cause of water intrusion into a garage in this market. Regrade the driveway edge to send water away from the house.
- Accepting a verbal bid with no written scope. A driveway repair is a base repair, and a base repair isn’t something you can confirm later unless it’s in writing. Get the scope, the depth, and the warranty in writing before you sign.
See the difference
 Before
 After
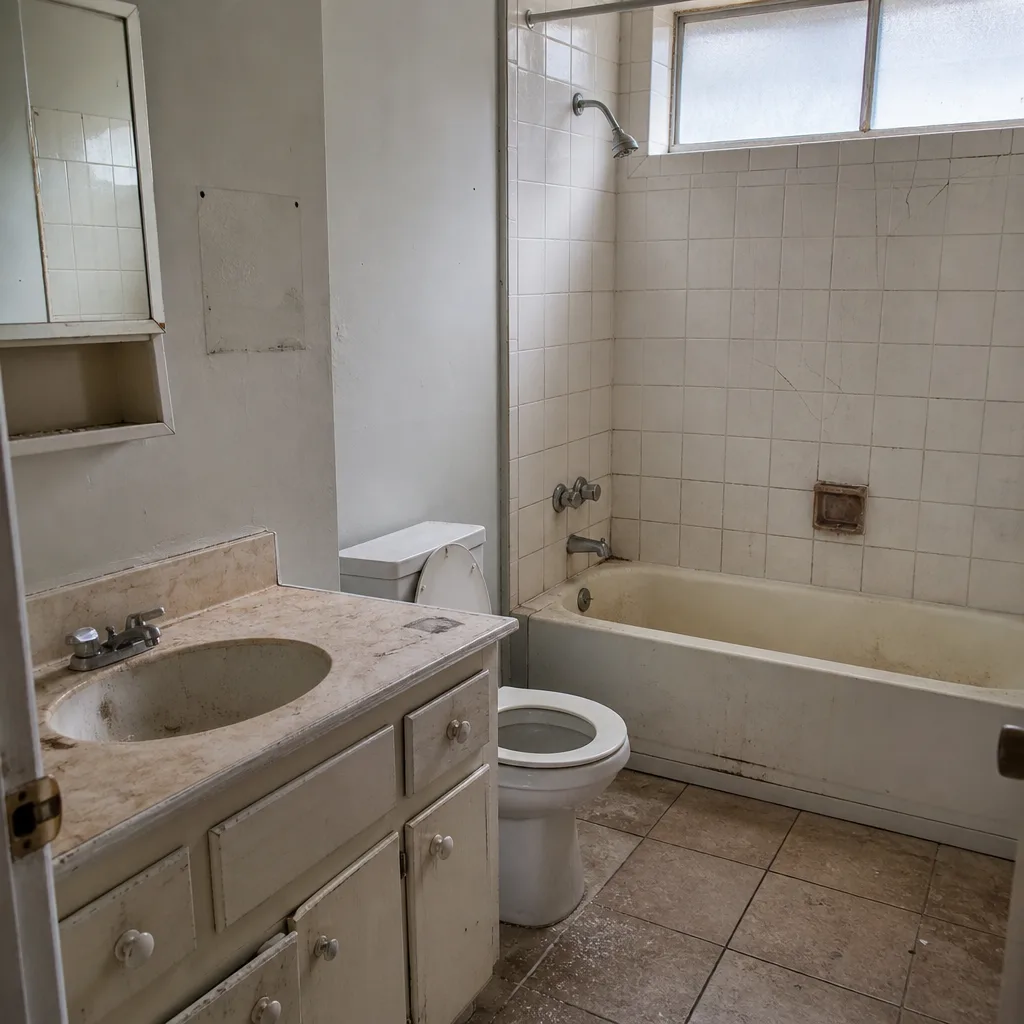 Before
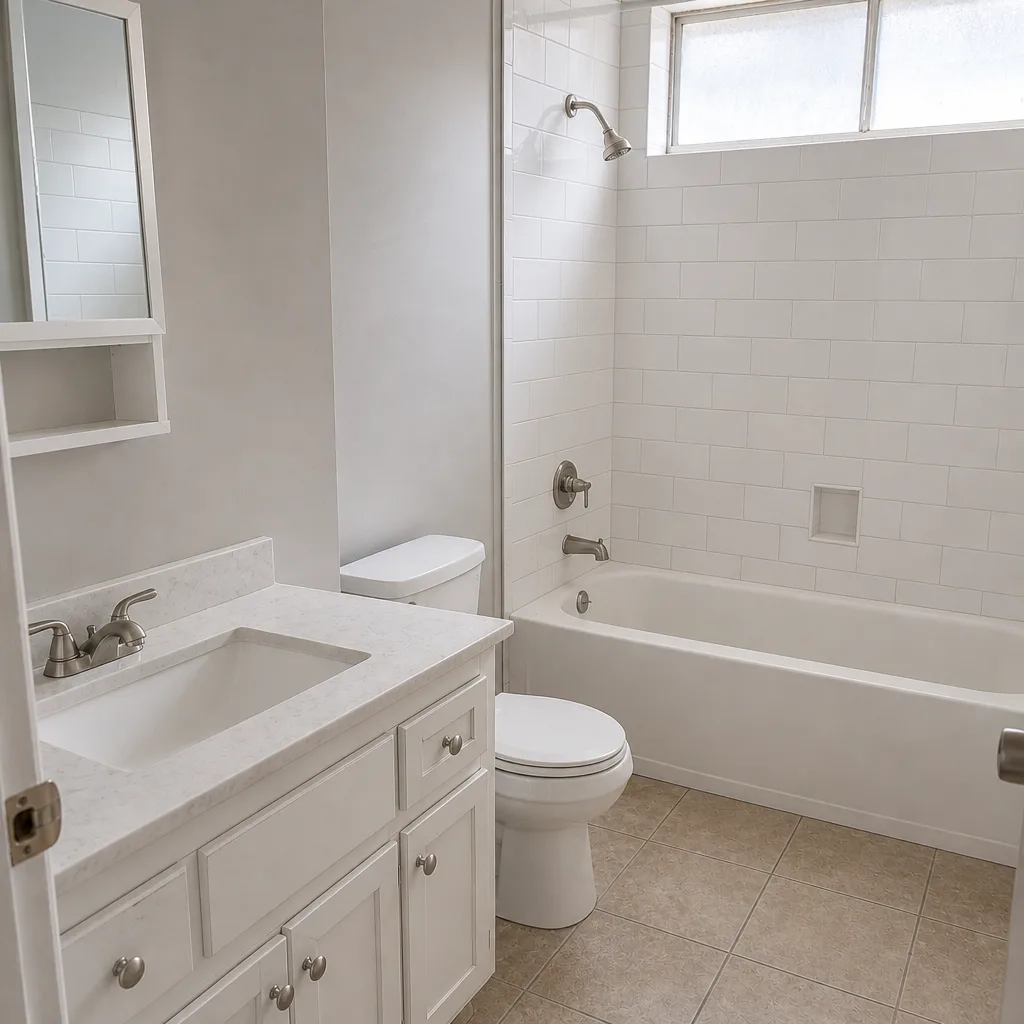 After
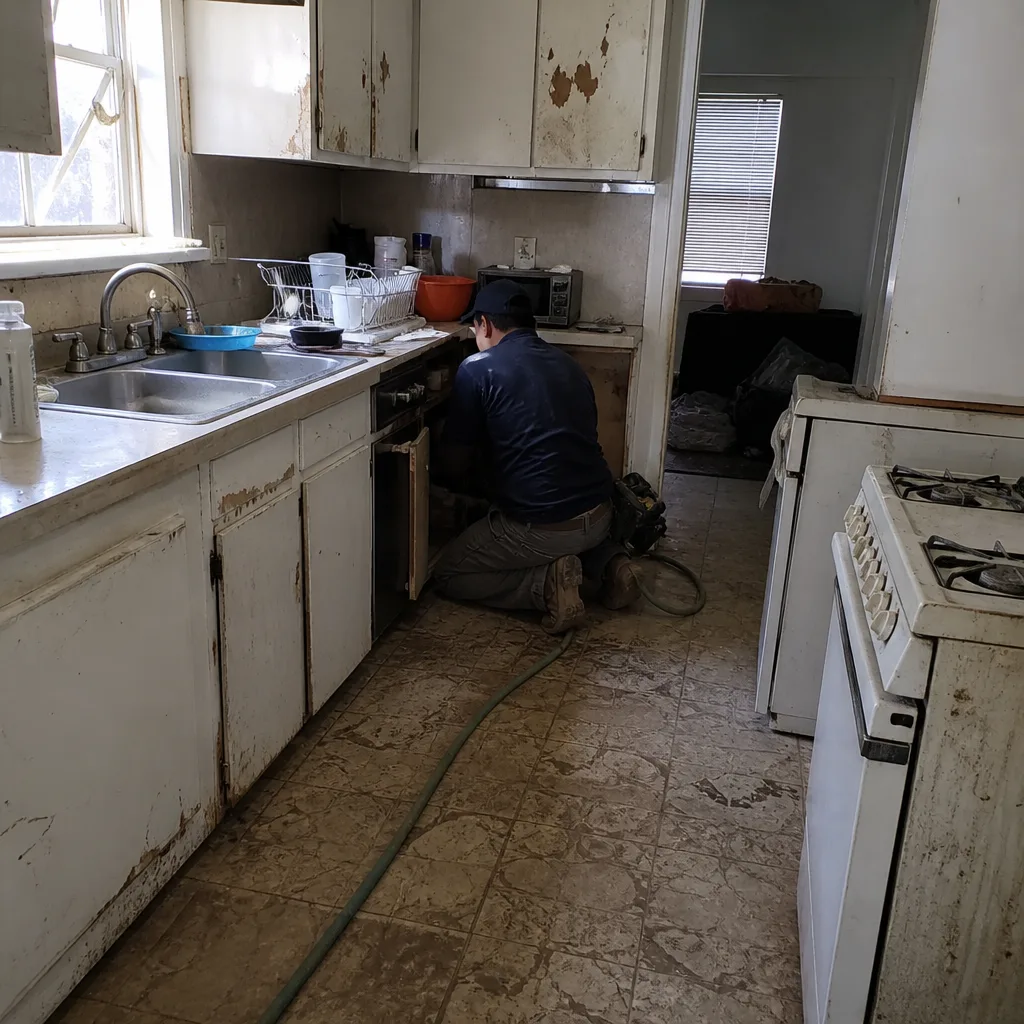 Before
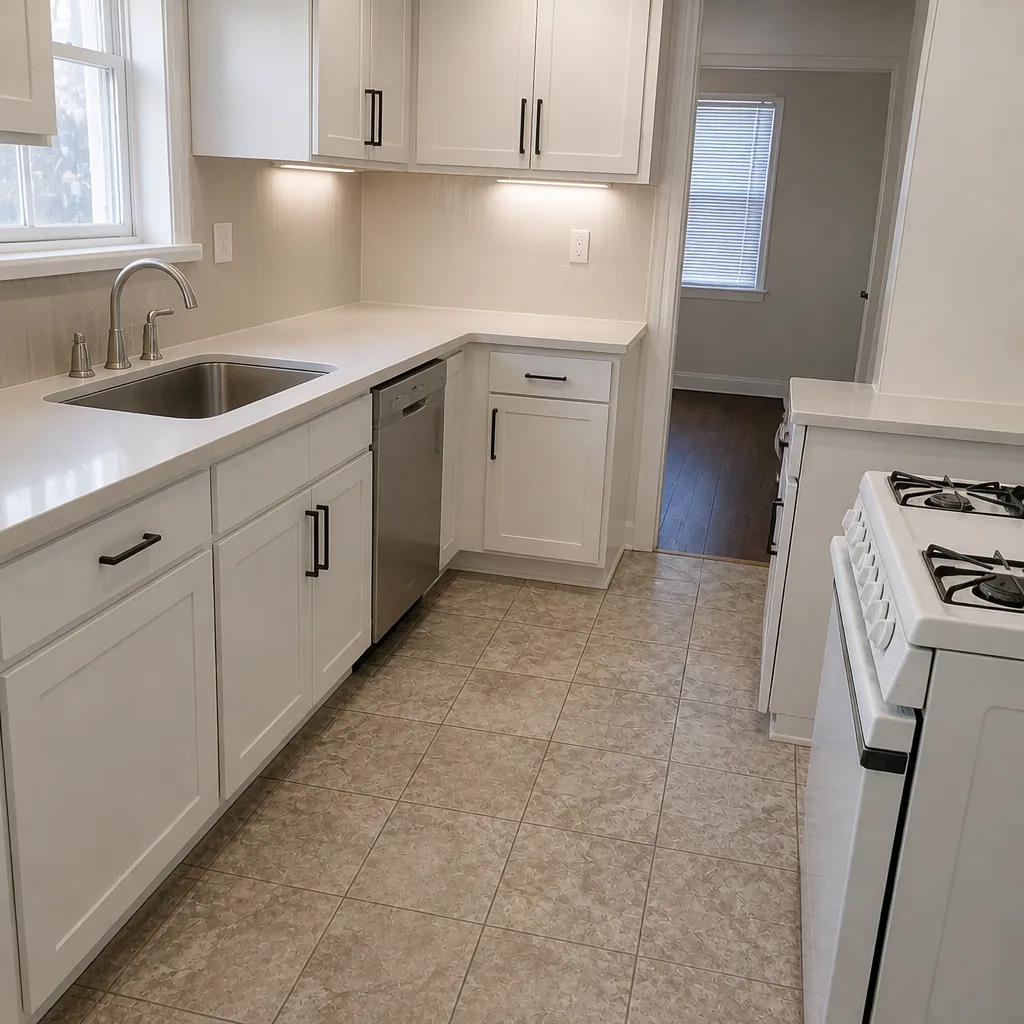 After
When to Call a Professional
Call us when the problem is below the surface. Signs it’s time:
- A crack that keeps returning after two patches, or a crack wider than a pencil.
- A dip that holds water, or water that runs toward the house or garage instead of away.
- More than three lifting or sinking pavers, or a paver field that’s spreading at the edges.
- A heave or dip that follows a tree line and shows the pattern of root intrusion.
- Any vertical fault in the surface – one section dropped or raised relative to its neighbor.
- A paver driveway with a visible washout line at the street or apron.
- A driveway on a lot with mature trees and no recent assessment, especially when you’re planning a fence or addition nearby.
Groundwork Construction Co. of Mesquite offers free estimates in Mesquite, and we’ll inspect the base and the drainage rather than just describe the surface. We carry the 730-Day Done Right Promise on workmanship, which means if it’s not done right, we make it right. Our technicians have up to 12 years of experience, and every job is background-checked and uniformed. Call (888) 426-8078 to schedule your free estimate.
Frequently Asked Questions
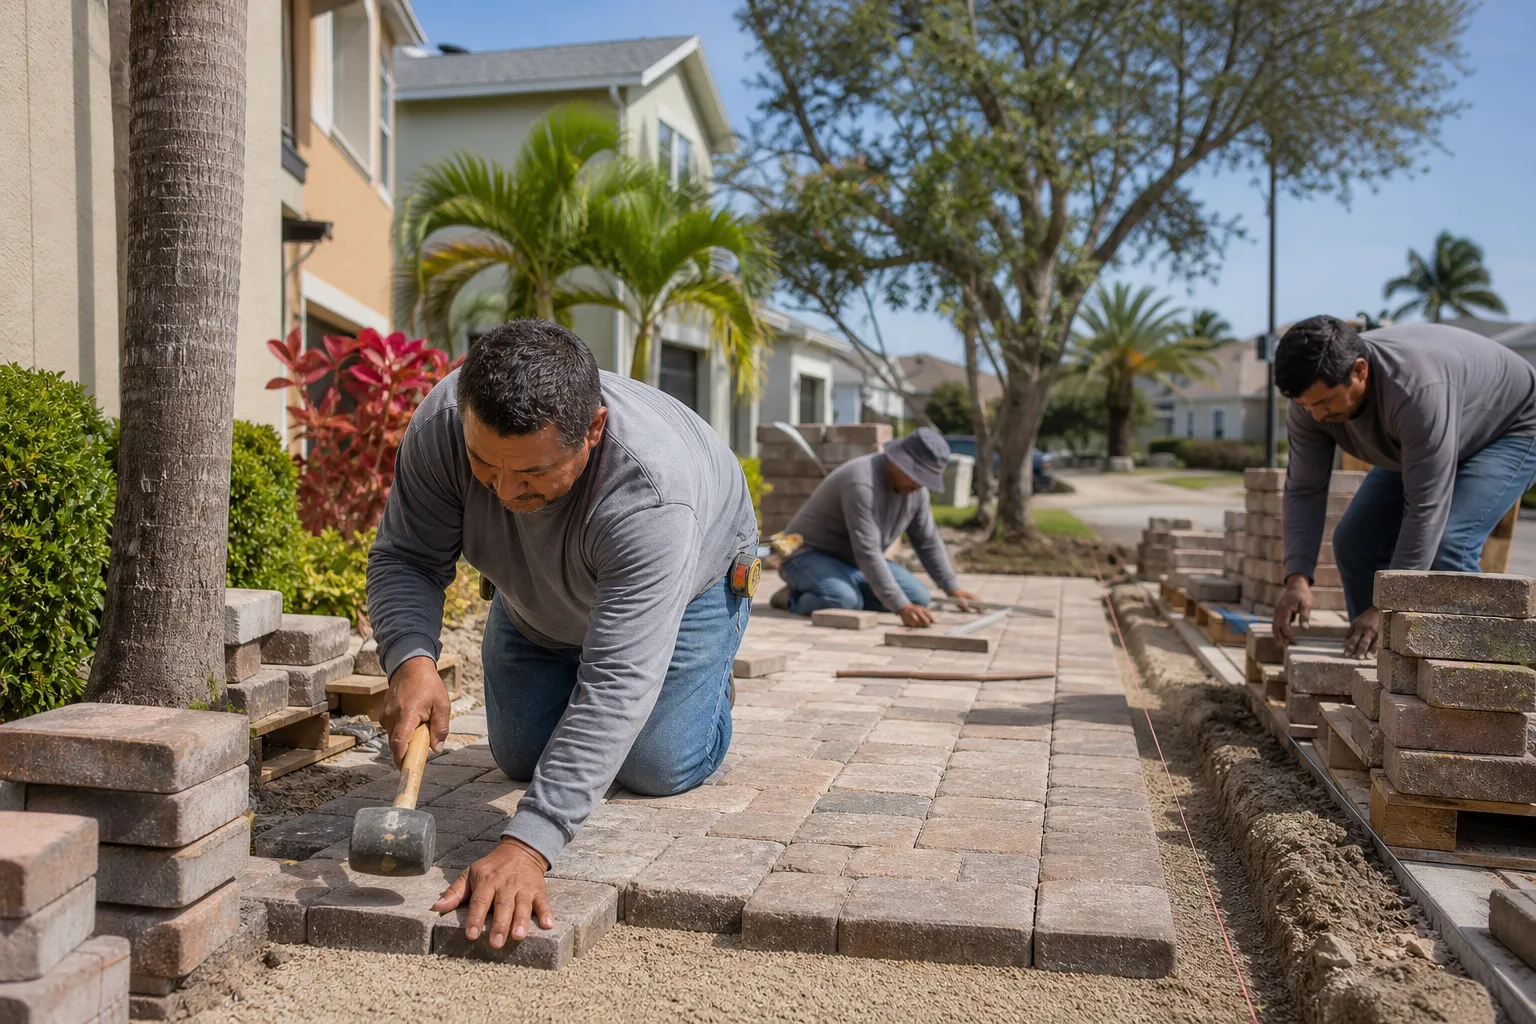
Heaving in spring is almost always caused by moisture movement in the sub-base or by clay soil expanding when wet, and it’s the classic Mesquite pattern after our spring rains. A single lifted paver near a tree is a root issue, but a line of heaving pavers is usually clay movement or moisture at the edge. The fix is diagnosing whether it’s a root or a base issue, then re-setting the affected area and improving the base and drainage. Call (888) 426-8078 to schedule a free inspection.
A shallow surface crack in sound concrete is DIY-safe to patch and seal yourself. But if the crack returns after two patches, or if there’s a vertical fault, or if the surface is both cracked and dipping, that’s a base failure and doing it yourself won’t fix it. The hose and straight-edge test will tell you which you’re looking at. Call (888) 426-8078 for an exact quote on a base repair – estimates are free.
Most base repairs on a residential driveway are completed in a single visit, with paver re-lays taking a bit longer depending on square footage. The prep and excavation happen first, then the base layers are placed and compacted, then the surface is reinstalled. We outline the full timeline in the written scope before work begins so you know what to expect. Call (888) 426-8078 to schedule a free estimate for your Mesquite property.
Sinking along the edge usually signals a failed edge restraint, not a whole-driveway problem. The edge restraint was the weak point, and re-establishing it plus re-setting the affected pavers often solves the problem. Full replacement is only needed if the base underneath the field has failed across the whole surface. Call (888) 426-8078 to schedule a free estimate and we’ll inspect the base before recommending anything.
Some repairs do and some don’t. Work that touches the public right-of-way, curb, or the street approach often requires a permit from the city, while work entirely within the property line usually doesn’t. A proper bid will state who pulls the permit and what the permit covers. Call (888) 426-8078 to schedule a free estimate – we’ll tell you what applies to your property.
Look for a written scope that describes the base work, not just the surface finish. A real bid states the excavation depth, base material and compaction method, any drainage changes, the paver or concrete specifications, the permit responsibility, and the warranty terms. Our 730-Day Done Right Promise is written into the bid. If a bid describes only the finish and the seal, it’s a band-aid. Call (888) 426-8078 to schedule your free estimate.
The Bottom Line
Most driveway problems are base problems wearing a surface costume. The crack, the dip, the heaving paver: they’re receipts for work that already happened underneath. Diagnose with a hose, a straight edge, and a careful look at the pattern. Fix the base before you fix the surface, or the surface will keep breaking. Document before and after, insist on a written bid that spells out the base scope and the warranty, and know when a repair is genuinely DIY versus when it’s a professional job. If you’re in Mesquite and the damage is below the surface, call (888) 426-8078 to schedule a free estimate and we’ll walk the driveway with you. We carry industry-leading brand partners like Belgard and Andersen across our trades, answer every call with a live person, and back the work with the 730-Day Done Right Promise – built to last, backed in writing.
Written by the team at Groundwork Construction Co. of Mesquite.