Last updated November 17, 2026



Free written scope consultation - allowances, timeline, and change-order rules on paper before a single trade is scheduled
DIY vs Professional Windows & Doors: What’s Safe to Do Yourself
Installing a pre-hung exterior door yourself is one of the most confidence-destroying DIY projects a homeowner can attempt. Not because it’s technically complex, but because it looks simple right up until the frame racking and water infiltration show up 18 months later. We’ve watched that exact scenario play out on jobs across Mesquite, where a homeowner saved $400 on installation and then spent $3,200 rebuilding a rotted subfloor and door sill. This guide separates the window and door tasks that are genuinely within reach of a careful DIYer from the ones that quietly fail long after the tutorial ends. You’ll get the Texas code details, the flashing specifics most videos skip, and an honest skills checklist.
Quick Answer
Replacing an interior door slab, swapping hardware, or installing an insert (pocket) window replacement into an existing frame are realistic DIY projects for a homeowner with basic carpentry skills. Full-frame window and exterior door replacement is almost always professional territory, because the failure point isn’t the window itself but the waterproofing, flashing, and code compliance around it. If water can reach the opening you’re changing, hire a licensed installer.
Styles & brands we work with
- Kitchen remodeling
- Bathroom remodeling
- Home additions & ADU
- Roofing
- Windows & doors
- Driveway & pavers
- Fence
Table of Contents
- Why Windows and Doors Have the Widest DIY Skill Gap
- Insert vs Full-Frame Replacement: Fundamentally Different Projects
- Flashing and Water Management: The Detail Tutorials Skip
- Texas Code Requirements for Windows and Doors
- What “Warranty” Actually Means for Windows and Doors
- Interior Doors vs Exterior Doors: The Line Where DIY Starts to Break
- DIY Readiness Checklist: Skills and Tools
- Common Mistakes to Avoid
- When to Call a Professional
- Frequently Asked Questions
Why Windows and Doors Have the Widest DIY Skill Gap
Most home projects fall into a predictable difficulty band. Painting a room is easy. Replacing a light fixture is a 20-minute job. Tiling a backsplash takes patience but forgives small errors. Window and door work is different because the same category contains projects a beginner can finish in an afternoon and projects that can destroy a wall assembly over two rainy seasons.
The gap comes down to two factors: how much the project involves the building envelope, and how unforgiving the failure mode is.
- Low-envelope tasks (interior door slabs, hardware, weatherstripping) don’t touch the exterior. A mistake shows up immediately and stays contained.
- High-envelope tasks (full-frame replacement, new exterior doors) cut into the wall. A waterproofing mistake can stay invisible for years before showing as rot, mold, or a soft sill.
Here’s the counterintuitive part: a full-frame window replacement is often easier to finish in one afternoon than a backsplash, and it’s more likely to fail. The work looks done because the window closes and the trim is painted. The consequences of a reversed sill pan or missing backdam don’t surface until water has been quietly working into the frame for 12 to 18 months.
In Mesquite, that timeline is compressed. Summer storms driving wind-blown rain against a south- or west-facing wall will push water through a bad flashing detail faster than a milder climate would. We see more failed DIY window jobs in our Mesquite service area than people expect, and the pattern is consistent: the window itself is fine, the waterproofing around it isn’t.
Insert vs Full-Frame Replacement: Fundamentally Different Projects
The single most important distinction in window work is insert replacement versus full-frame replacement. These are not variations of the same job. They share a name and almost nothing else.
Insert (Pocket) Replacement
An insert window fits into the existing window frame after the old sash is removed. The original frame, sill, and casing stay put. You’re replacing the operable parts and the glass, not the opening.
- Envelope disruption: None. The existing waterproofing stays intact.
- DIY suitability: Realistic for a careful homeowner with carpentry experience.
- Typical install time: 1-2 hours per window.
- Glass area: Slightly reduced, since the new window sits inside the old frame.
- Best for: Frame and sill in good condition; you want better energy performance or a fresher look.
Full-Frame Replacement
A full-frame replacement removes the entire window down to the rough opening in the wall. Sill, casing, trim, and flashing all come out and go back in new.
- Envelope disruption: Complete. The rough opening is open to the weather during the swap.
- Envelope work required: Sill pan, flashing tape, air sealing, new trim, insulation. All code compliance falls on you.
- DIY suitability: Not realistic for most homeowners. The install is easy; the waterproofing and code compliance aren’t.
- Glass area: No loss. Often a small gain.
- Best for: Rotted frames, failed older windows where the entire assembly needs replacement, or projects changing the size of the opening.
In Mesquite’s older housing stock, especially the neighborhoods south of I-30 where 1970s and 1980s builds are common, we regularly find sill rot and frame damage that disqualifies insert replacement. Homeowners planning an insert discover during removal that the frame won’t hold a new window, and the project suddenly becomes full-frame. Budget for that possibility before you start, not after.
Flashing and Water Management: The Detail Tutorials Skip
If you watch five window installation tutorials, four of them will spend the entire video on leveling and shimming. Almost none will cover the flashing correctly, and that’s precisely the detail that causes most failures.
Flashing is the waterproofing system around the exterior of the opening. It has to shed water in a specific order, and getting the sequence wrong means the window “looks done” while quietly leaking.
The correct flashing sequence for a window in a wall:
- Sill pan or sill flashing first. Sloped outward, with back dams at the sides, installed before the window goes in.
- Window set and shimmed. Flange or nailing fin placed against the sheathing.
- Side flashing. Applied over the nailing fin, lapped over the sill pan.
- Head flashing. Applied over the side flashing, not under it. This is the lap order that most DIY tutorials get backwards.
- Weather-resistive barrier (house wrap) lapped over the head flashing. The topmost lap.
- Sealant per manufacturer spec. Exactly where and only where the manufacturer says; over-sealing can trap water and create more problems than it solves.
That sequence is called shingle-lap, and every layer sheds water onto the layer below. Get the head flashing under the side flashing – a common mistake when installing quickly – and water wicks behind the window every time it rains.
In Mesquite, the consequences show up on the sill interior trim as paint blistering or a soft spot you notice when you lean on it. By the time you see it, water has been behind the window for a full season. Andersen and Marvin both publish detailed written installation specs that show this sequence; following them is not optional if you want the manufacturer warranty to survive.
Safety note: Any window above the first floor involves working at height with a heavy, awkward assembly. Do not attempt full-frame replacement on second-story windows without proper fall protection and a second person. This is not a task to attempt from an extension ladder.
Texas Code Requirements for Windows and Doors
Texas follows the International Residential Code (IRC) with state and local amendments, and Mesquite enforces those requirements through the permit and inspection process. The two code areas that affect window and door work most often are egress and energy.
Egress Windows
Every sleeping room and every habitable basement must have at least one egress window or door that opens to the outside. In a replacement project, if you change the size or location of a window in a sleeping room, the new window must meet egress. The current IRC specifies a minimum clear opening of 5.7 square feet, with a minimum clear width of 20 inches, a minimum clear height of 24 inches, and the sill no higher than 44 inches above the finished floor. If you’re replacing an older window that never met egress, code enforcement typically requires upgrading to the current standard.
Energy Code
Texas residential energy code requires windows and doors to meet specified U-factor and solar heat gain coefficient (SHGC) ratings. Any replacement window or door must be rated. You’ll find the rating on the NFRC label attached to the window; that label comes off during installation, so record the values before you toss it. Inspectors may check for the label or the rating documentation.
Doors have their own requirements: exterior doors must be rated for the climate zone, and sliding glass doors that serve as egress must meet the same opening specs as windows.
Permits
Mesquite requires a permit for full-frame window replacement, new exterior door installations that change the opening size, and any replacement affecting egress. Permit cost varies by project scope, but plan for a few hundred dollars for a typical residential window replacement plus inspection scheduling. If a contractor quotes you a full-frame window project and there’s no permit mentioned, ask why. A missing permit can block a future sale.
What “Warranty” Actually Means for Windows and Doors
Manufacturer warranties are almost universally voided by improper installation. “Improper” is defined in their written installation instructions, not in a loose sense of whether the window works. If a manufacturer’s published spec calls for a sill pan and you didn’t install one, the warranty is void even if the water damage is years away.
This is where the DIY vs professional decision gets expensive. Consider the math on a full-frame window:
- Window cost: $400-$900 for a standard replacement unit
- Professional installation: $350-$600 per opening
- DIY material savings: Roughly $300-$500 per opening, minus permit, minus any redo
- Cost of a failed install: $1,500-$4,500 to open the wall, rebuild the frame, replace rotted sheathing, and reinstall
That trade works until it doesn’t. One failed opening wipes out the savings on five successful ones, and it voids every manufacturer’s warranty on the failed unit.
The manufacturer names that matter here (Andersen and Marvin are two of the most common on full-frame exterior work) publish detailed written installation guides. Some manufacturers require a certified installer for their strongest warranty tiers, meaning a DIY install may actually downgrade your warranty from 20 years to something much shorter. Check the fine print before you buy, not after.
For any window and door project, this is also where Groundwork Construction Co.’s 730-Day Done Right Promise matters. Any work we install carries a written guarantee that outlasts the first rainy season, which is exactly when the failure would show. If it’s not done right, we make it right – that’s not marketing, that’s the definition of the guarantee.
Interior Doors vs Exterior Doors: The Line Where DIY Starts to Break
Interior door work and exterior door work are near-opposite recommendations.
Interior Door Projects
Interior door work is genuinely DIY-friendly, with a few caveats.
- Replacing a slab: Easy. Remove the old slab, hang the new one on the existing hinges, drill for hardware, mortise for the strike. An experienced homeowner can do it in 2-3 hours.
- Painting or staining: Easy. Interior doors don’t affect the building envelope.
- Replacing hardware: Easy. Knobs, handles, hinges are a 30-minute job.
- Hanging an entirely new pre-hung interior door in a new opening: Moderate. If the frame is straight and the opening is square, doable. If the wall is out of plumb, get a carpenter.
Exterior Door Projects
Exterior door replacement is a different animal. The door is on the building envelope. A 1/16-inch mistake in plumb compounds into frame racking, sticking, air leaks, and water infiltration. The sill detail alone – back pan, sill pan, threshold, weatherstripping, exterior sill cap – has five separate components that have to work together.
We’ve seen Mesquite homeowners install a pre-hung exterior door perfectly level side-to-side and end up with a door that binds in humid weather because the sill wasn’t set with the correct slope. The door worked fine in October and stopped closing in May. That’s typical of one specific detail: the exterior threshold should pitch 1-2 degrees outward so water runs off, and a level set reads plumb but drains wrong.
Exterior door replacement also affects egress if the door serves as the required egress from a sleeping room, and it has energy code requirements that a pre-hung door won’t satisfy if you purchase the wrong unit. The door has to be rated and sealed correctly; a gap of 1/8 inch at the threshold loses more efficiency than the entire new door gained.
DIY Readiness Checklist: Skills and Tools
Before you commit to a window or door project, run this checklist honestly. A “no” on any of the first four means call a professional.
- Have you successfully completed similar carpentry? Trim work, framing repairs, cabinet installation. If not, this isn’t the project to learn on.
- Do you have a second person for the install day? A window or exterior door is heavy and awkward. Solo installs on windows above first-floor height are a fall risk.
- Can you interpret manufacturer installation instructions? Not skim them, actually follow them step by step. They run 10-25 pages for a full-frame install.
- Do you understand flashing and waterproofing lap order? Not just “put tape around it.” The shingle-lap sequence above.
- Do you know your code requirements? Egress, energy ratings, permits.
- Do you have the right tools? See the list below.
- Do you have a plan for what happens if you discover rot? Because you probably will on anything over 15 years old.
Tools for a realistic full-frame window install:
- 4-foot and 2-foot levels
- Framing square and speed square
- Oscillating multi-tool (for cutting out old flashing without damaging sheathing)
- Flashing tape (butyl, not cheap plastic), sill pan material
- Low-expansion window and door spray foam (the high-expansion stuff can bow window frames)
- Cyanoacrylate-based construction adhesive and exterior-grade sealant per manufacturer spec
- Fall protection if working above first floor
Tools for insert window replacement (much shorter): drill, oscillating multi-tool, 4-foot level, shims, low-expansion foam, trim gun for interior casing.
Tools for interior door slab replacement: drill, chisel set, hammer, utility knife, 2-foot level, hinge jig if you want it easier.
Common Mistakes to Avoid
- Skipping the sill pan. A window with no sill pan behind the flashing will leak at the sill within a few seasons, and the interior damage won’t show until the trim starts to blister. Every failure we see in Mesquite on DIY full-frame installs traces back to this detail.
- Installing head flashing under the side flashing. The lap order is the entire point of flashing. Reversed, it traps water behind the window and directs it into the wall cavity.
- Not taping the window flange on three sides, head open. The flange is there to integrate with the flashing, not to be taped shut against the sheathing on all four sides. Head stays open so water can escape.
- Over-foaming the gap. High-expansion spray foam bows window frames and can crack the glass seal later. Low-expansion window and door foam exists for a reason.
- Failing to permit. A full-frame window project without a permit in Mesquite is a future sale problem. Omissions show up when buyers order the permit history.
- Buying a window without checking NFRC ratings. Texas energy code requires it. Some windows sold at big box stores in mixed lots don’t have compliant ratings for the climate zone.
- Replacing an exterior door without checking threshold pitch. Level installation is correct side-to-side and wrong front-to-back. That’s reversed. Water needs 1-2 degrees of outward pitch on the exterior threshold to drain.
When to Call a Professional
Hire a licensed professional for any of these scenarios: full-frame window replacement (in any quantity); exterior door replacement; replacement windows opening into a rotted frame or sill; any second-story window; any project that requires a permit; any project in a sleeping room where egress specs matter; and any window or door where the manufacturer warranty matters to you (which should be every window and door).
For everything else, the DIY path is honestly achievable if you’re careful. For anything on that list, the failure mode costs more than the labor savings every time. Groundwork Construction Co. of Mesquite offers free estimates in Mesquite – call (888) 426-8078. We work with proven manufacturers, carry the 730-Day Done Right Promise on every installation, and pull permits and pass inspections as a standard part of the job. From full-frame replacement through porch door patching, we scope projects with upfront pricing so the number we quote is the number you pay.
Frequently Asked Questions
You can legally replace insert (pocket) windows yourself in Mesquite if you’re not changing the opening size and not affecting egress, though you’ll still need to check whether your project triggers a permit. Full-frame replacement requires a permit and must pass inspection, and most homeowners should not attempt it.
Insert replacement fits a new window into the existing frame; full-frame replacement removes the entire window assembly down to the wall opening and installs new framing, sill, flashing, and trim. Insert replacement is DIY-accessible for a careful homeowner; full-frame replacement requires envelope work and code compliance that most homeowners can’t complete safely or to manufacturer spec.
In most cases, yes. Manufacturer warranties are voided by any installation that deviates from their written installation instructions, and DIY installs frequently skip required details like sill pans, correct flashing lap order, or specified sealant placement. Check the specific brand’s written install guide before you start – Andersen and Marvin publish complete specs, and many of their strongest warranty tiers exist only for certified installers.
Yes for full-frame replacement, new exterior doors that change the opening, and any replacement affecting egress. Insert window replacement typically does not require a permit if the opening is unchanged, but confirm with Mesquite’s building department before starting – permit requirements can shift, and a missing permit can block a future property sale.
Texas follows IRC egress specs: a minimum clear opening of 5.7 square feet, minimum clear width of 20 inches, minimum clear height of 24 inches, and the sill no higher than 44 inches above the finished floor. A sleeping room must have at least one compliant egress window or door. If you’re replacing an older non-compliant window, the upgrade is usually required.
Full-frame professional installation in Mesquite runs $800-$1,500 per window installed (window plus labor), depending on size, brand, and whether the wall or trim requires repair. Insert replacement runs lower, typically $400-$800 per window installed. Call (888) 426-8078 for an exact quote on your project – estimates are free.
The Bottom Line

Honest DIY assessment breaks window and door work into three tiers. Insert window replacement, interior door slabs, and hardware swaps are DIY-realistic for a homeowner with basic carpentry skills and the right tools. Full-frame replacement and exterior door installation sit firmly in professional territory because the work involves the building envelope, flashing sequence, and code compliance – the failure points that don’t show up for 12-18 months. Before you start, run the readiness checklist honestly, check the manufacturer’s written installation spec, and confirm permit requirements with Mesquite’s building department. If you’re not sure which tier your project falls into, that’s your answer. Call for a free estimate and we’ll help you sort it out.
Whether you’re planning a full window replacement across a Mesquite home and want to see how it ties into a broader renovation, or you’re tackling a project that touches the exterior envelope and want it done to code, our Groundwork Construction Co. of Mesquite home page walks through how we scope full-scope projects. For projects that pair window replacement with exterior improvements, see our work in Driveway & Pavers in Mesquite and Fence Installation in Mesquite. If you’re adding a room or a window where there wasn’t one, our Home Additions & ADU in Mesquite service covers the framing, permitting, and envelope work required to do it right.
Call (888) 426-8078 for a free estimate. We answer with a live person, 24/7, and our technicians arrive background-checked and in uniform. Building brand partners like James Hardie and KraftMaid are on our approved list for projects where window and door work intersects with exterior or interior finish. Every installation carries the 730-Day Done Right Promise in writing, and our standing offers include 0% financing for 18 months and $1,000 off projects over $10,000. From foundation to finish line, one contractor for the whole project – that’s the value.
Written by the team at Groundwork Construction Co. of Mesquite.
See the difference
 Before
 After
 Before
 After
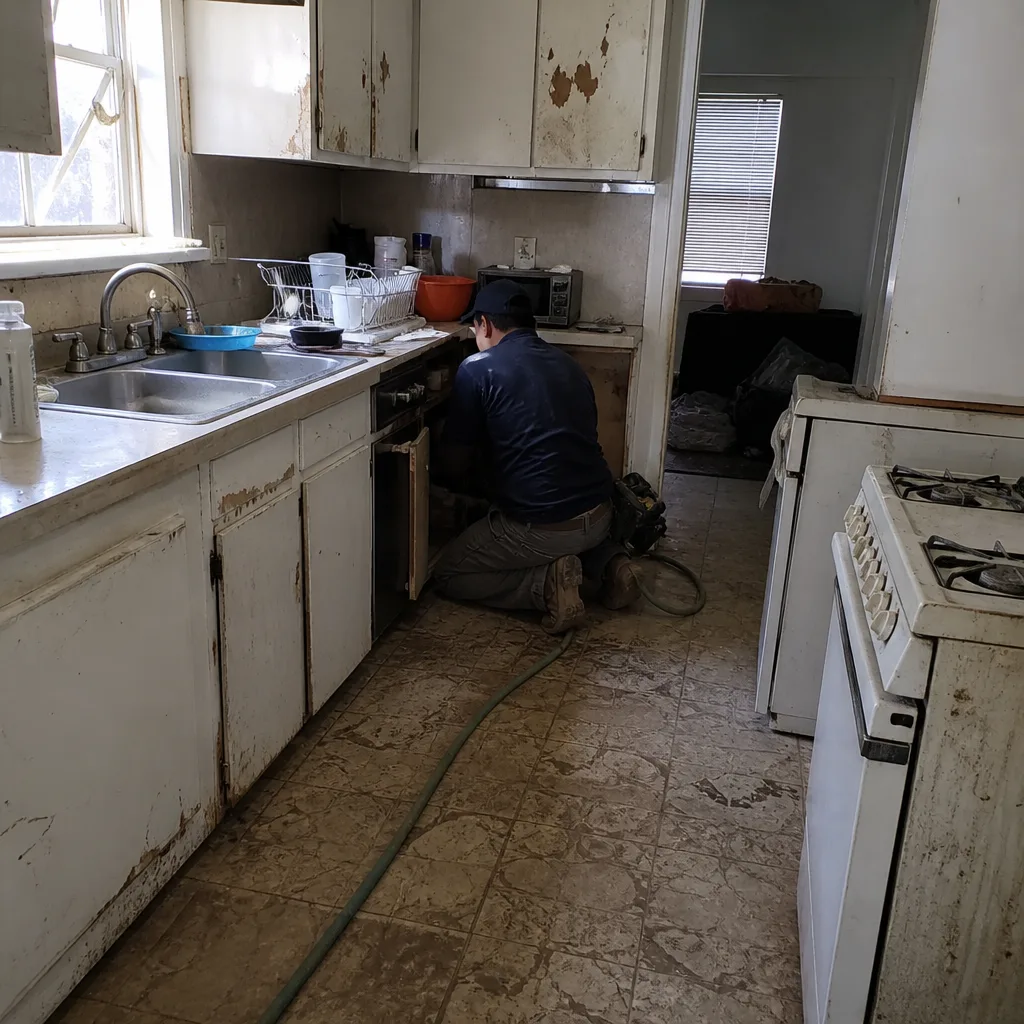 Before
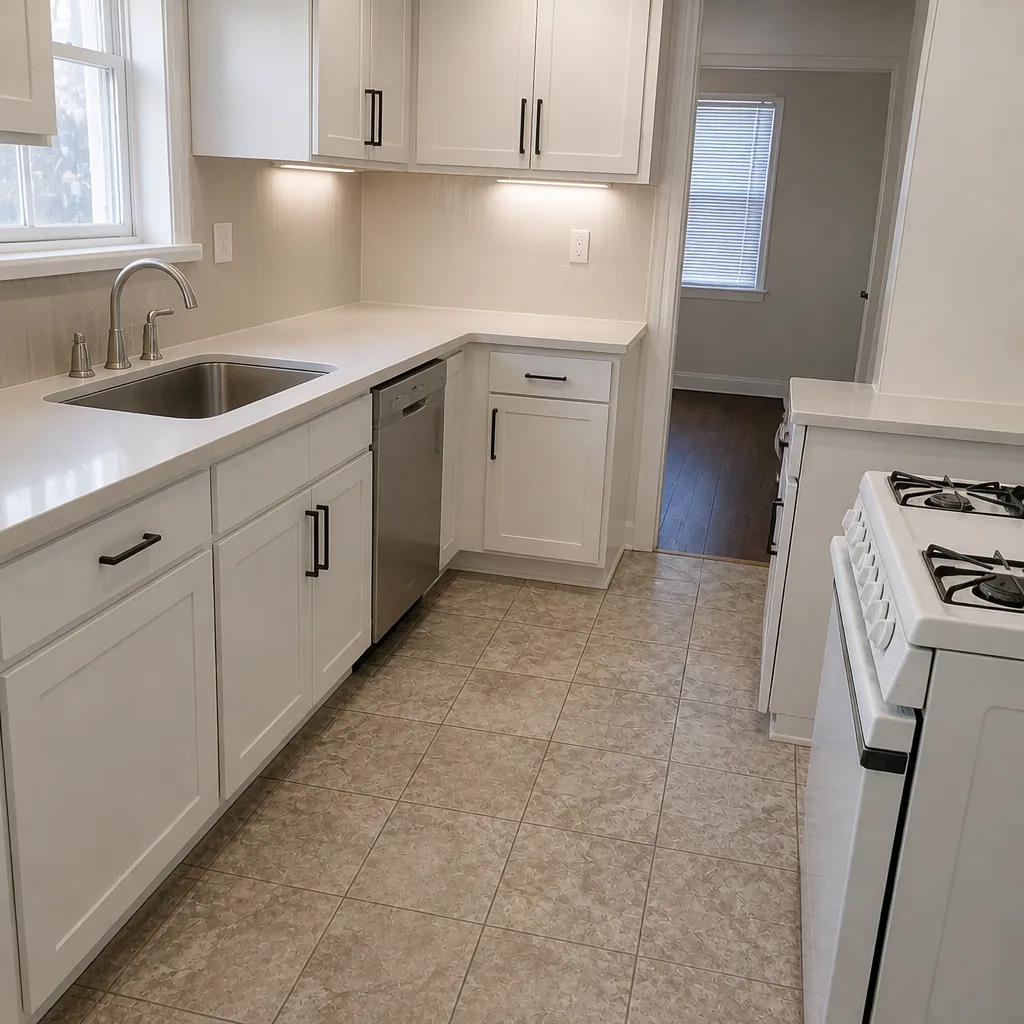 After